


Your Custom Text Here
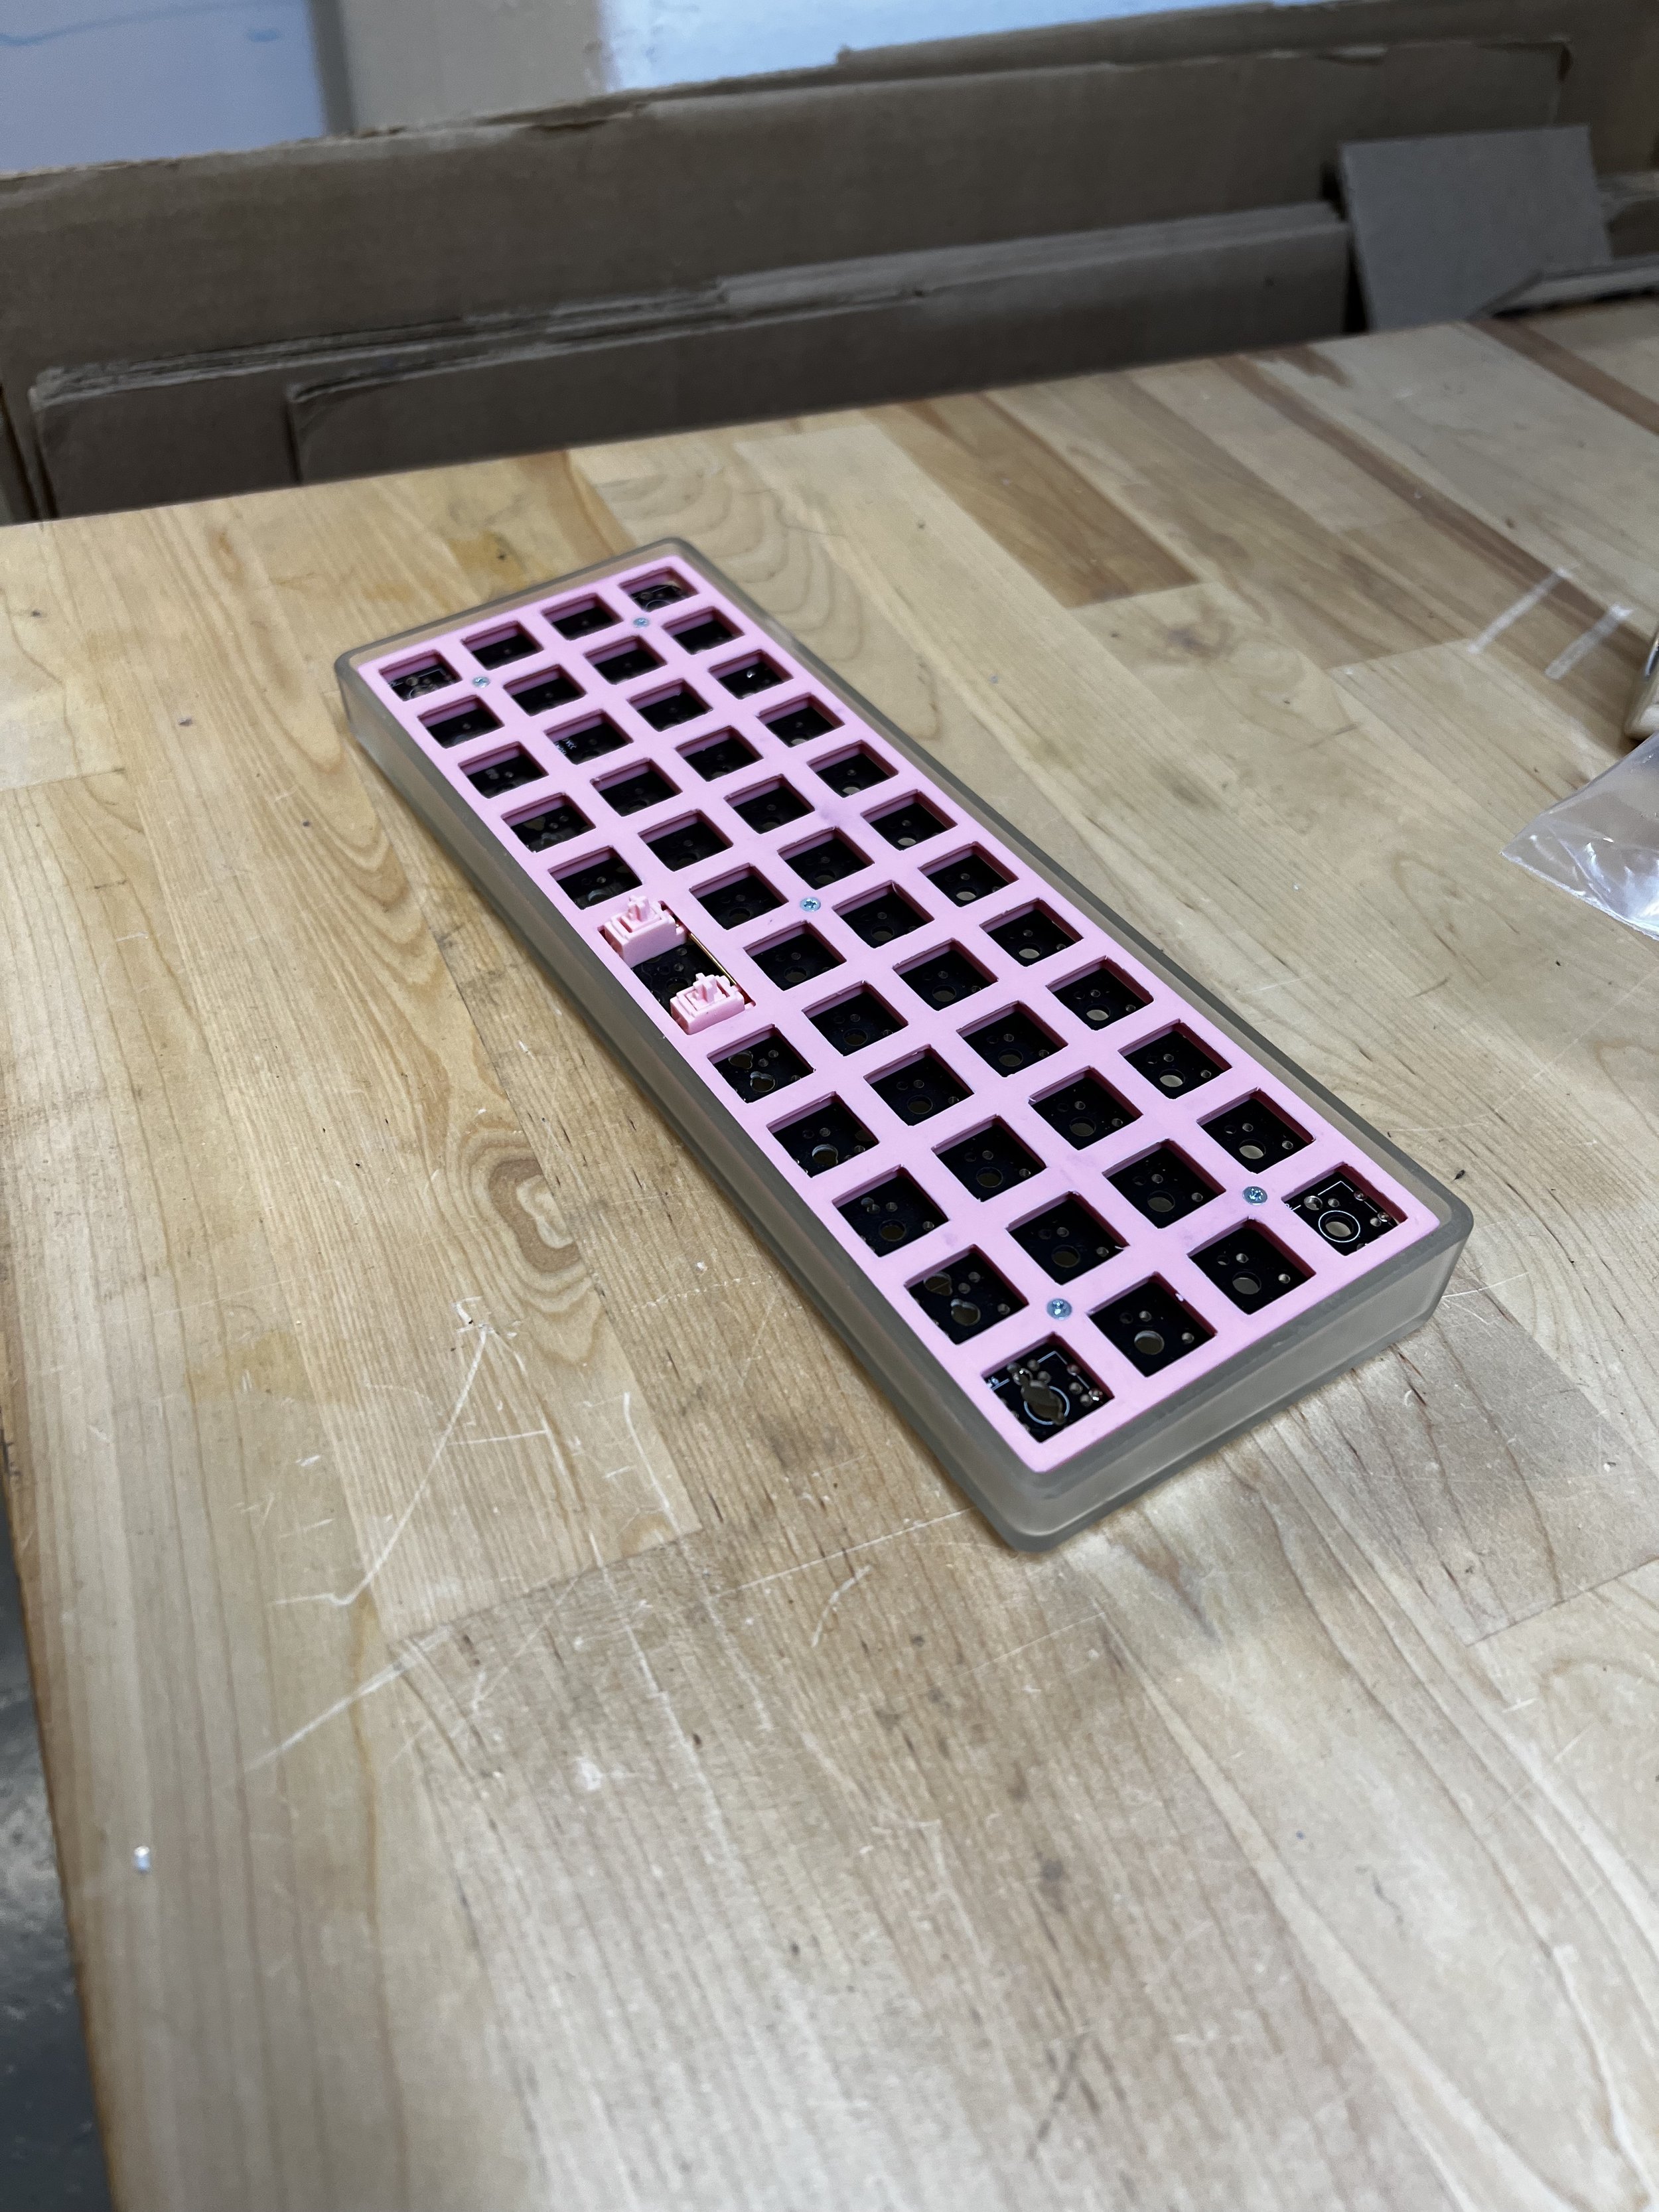
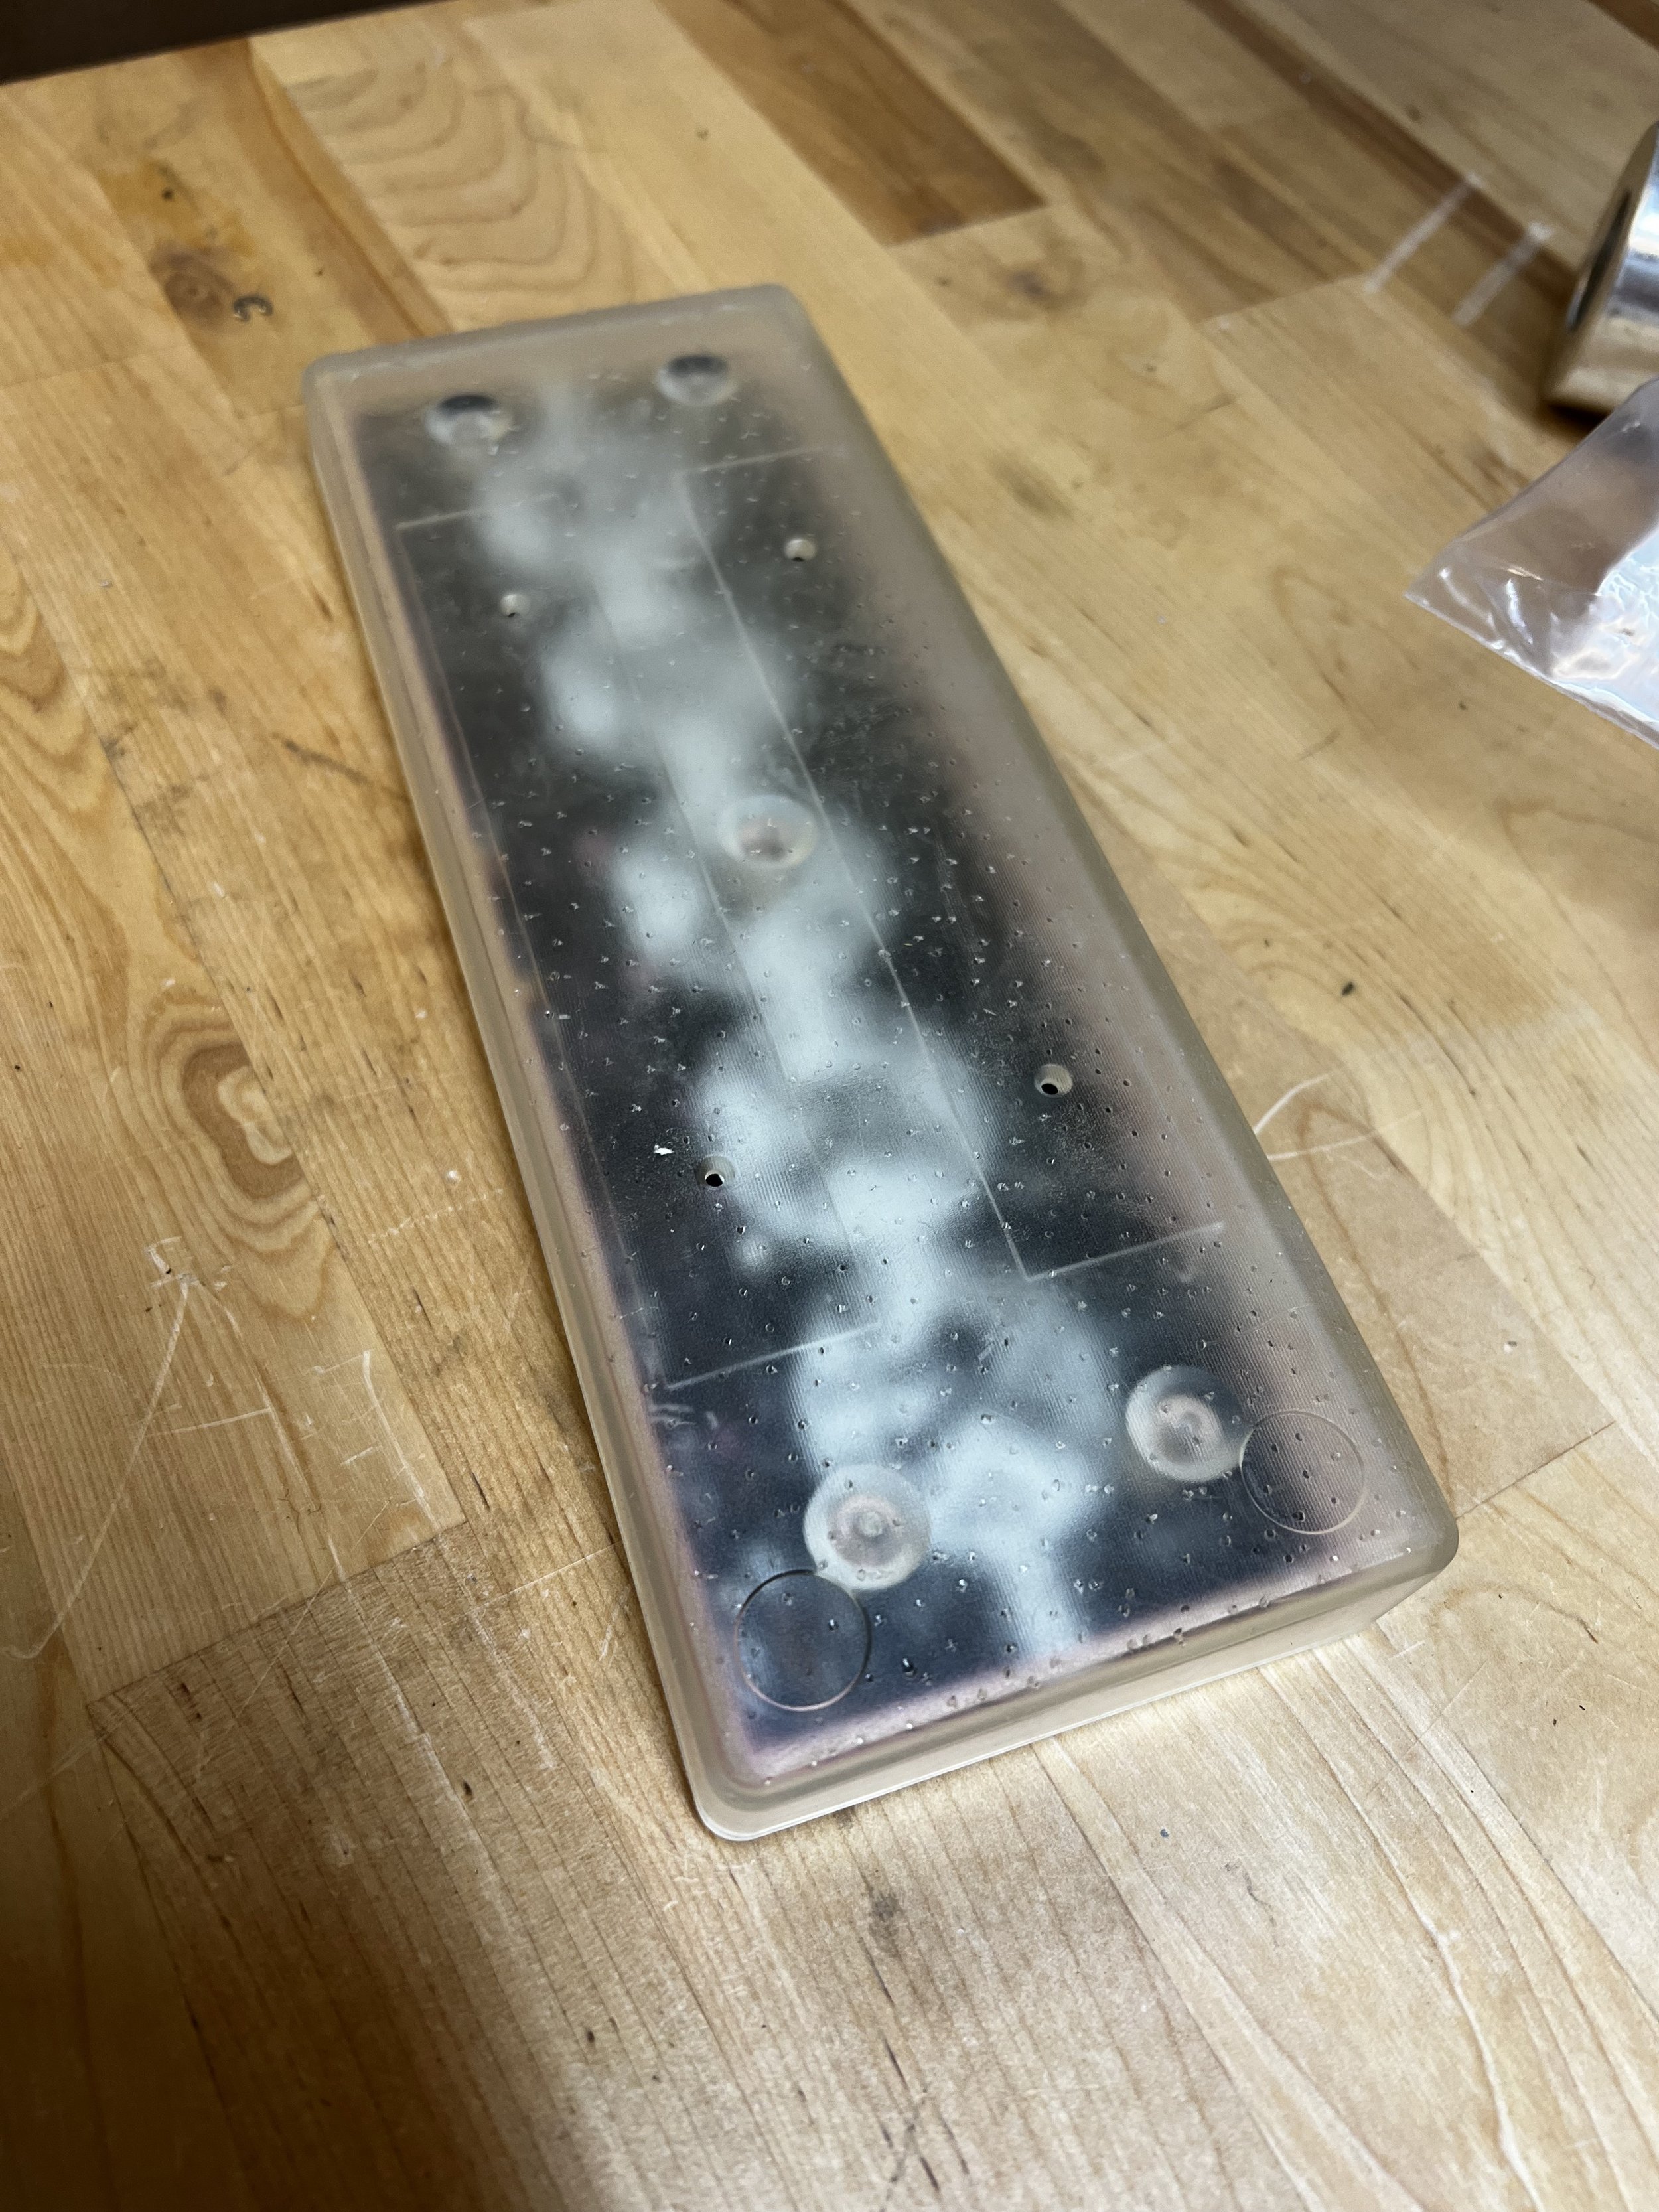
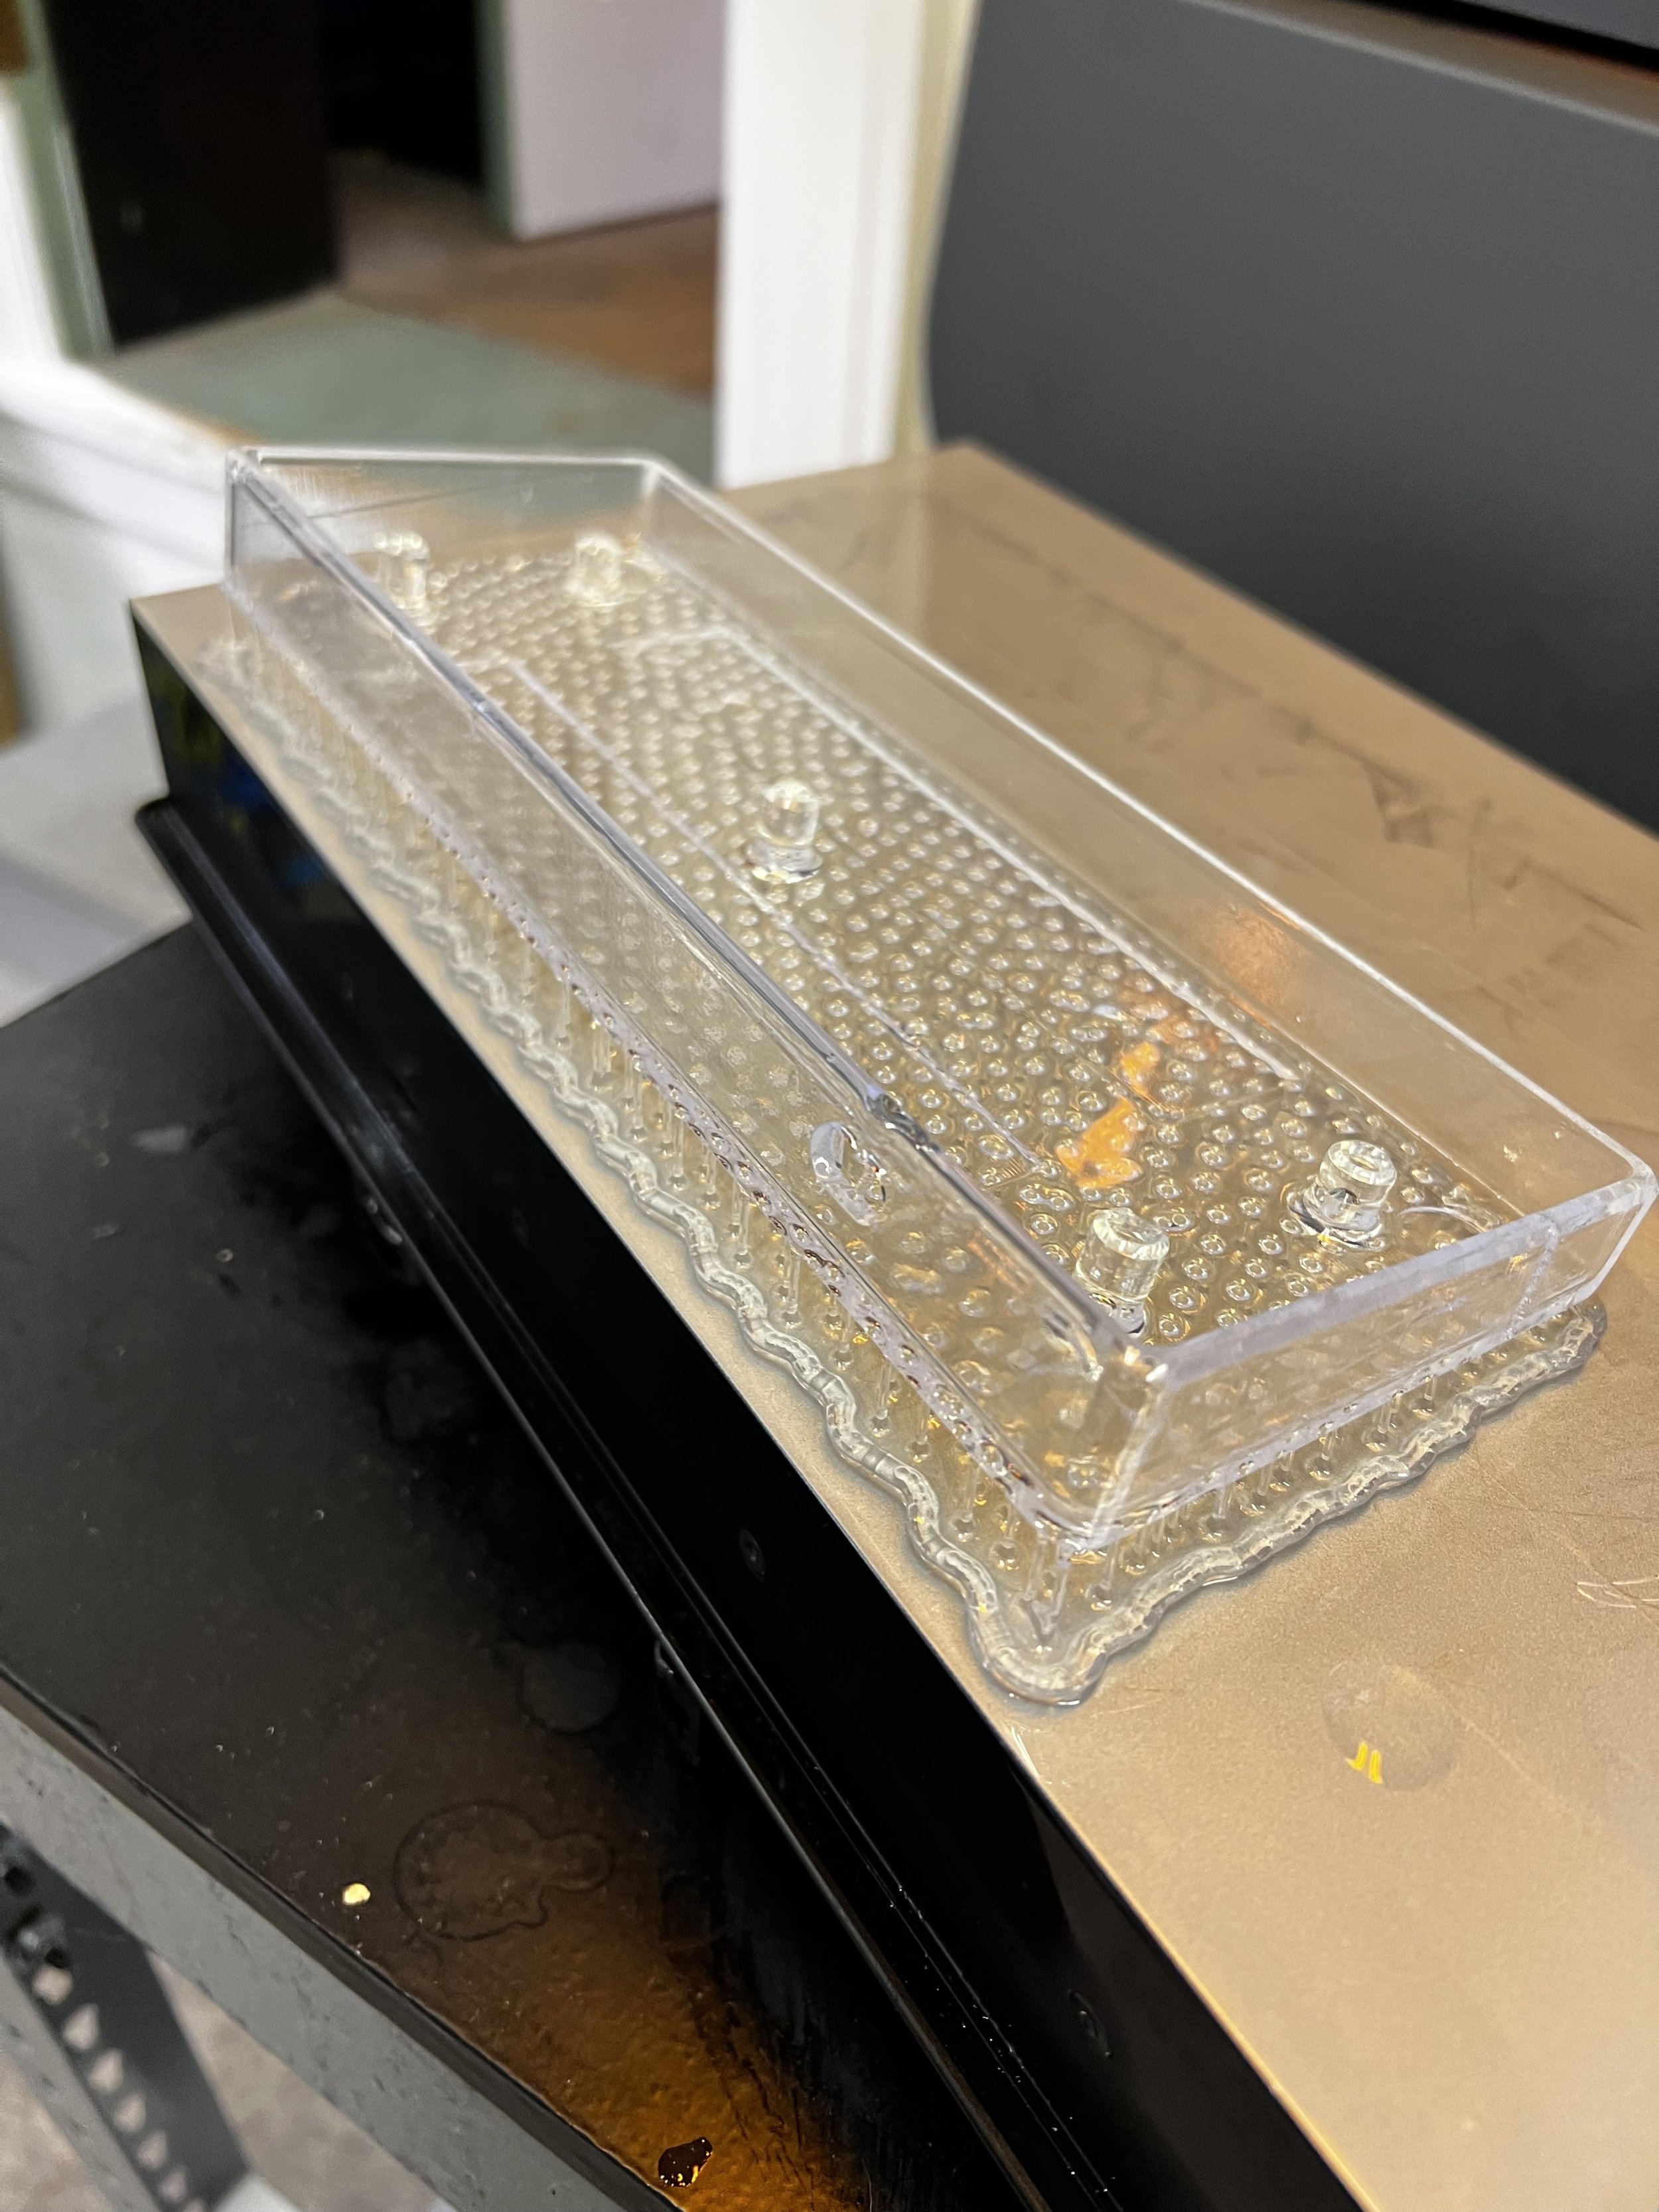
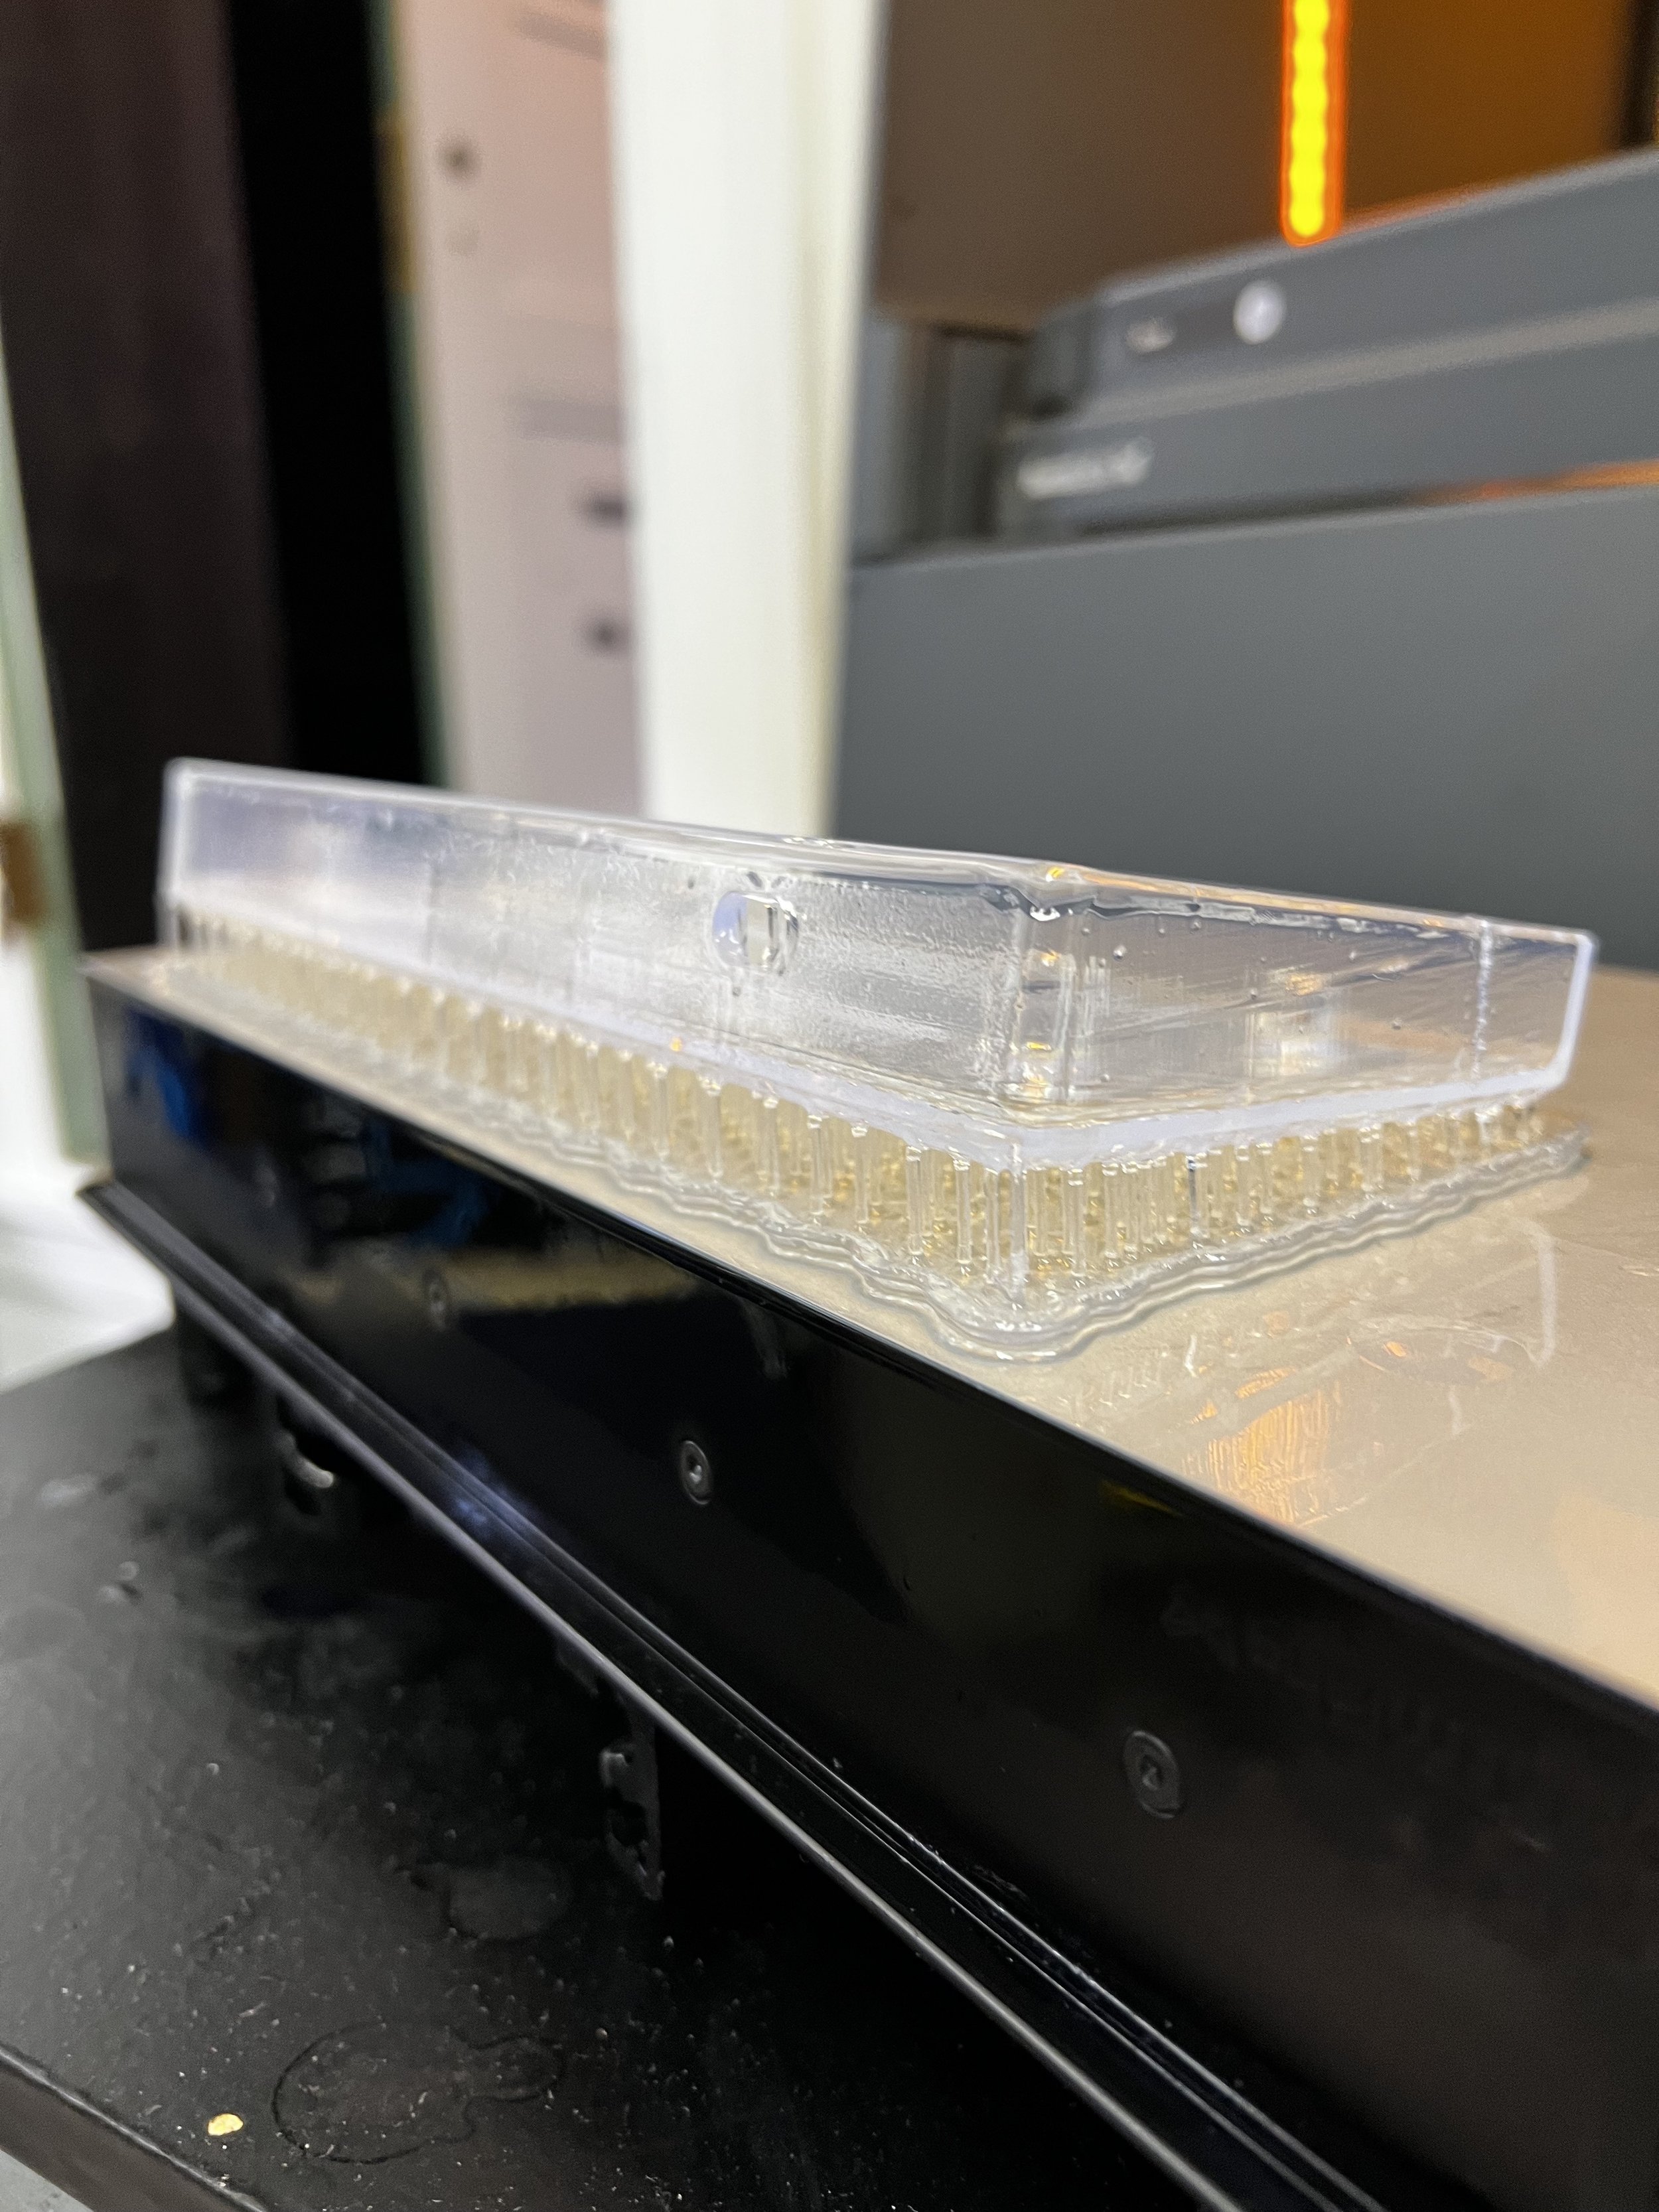
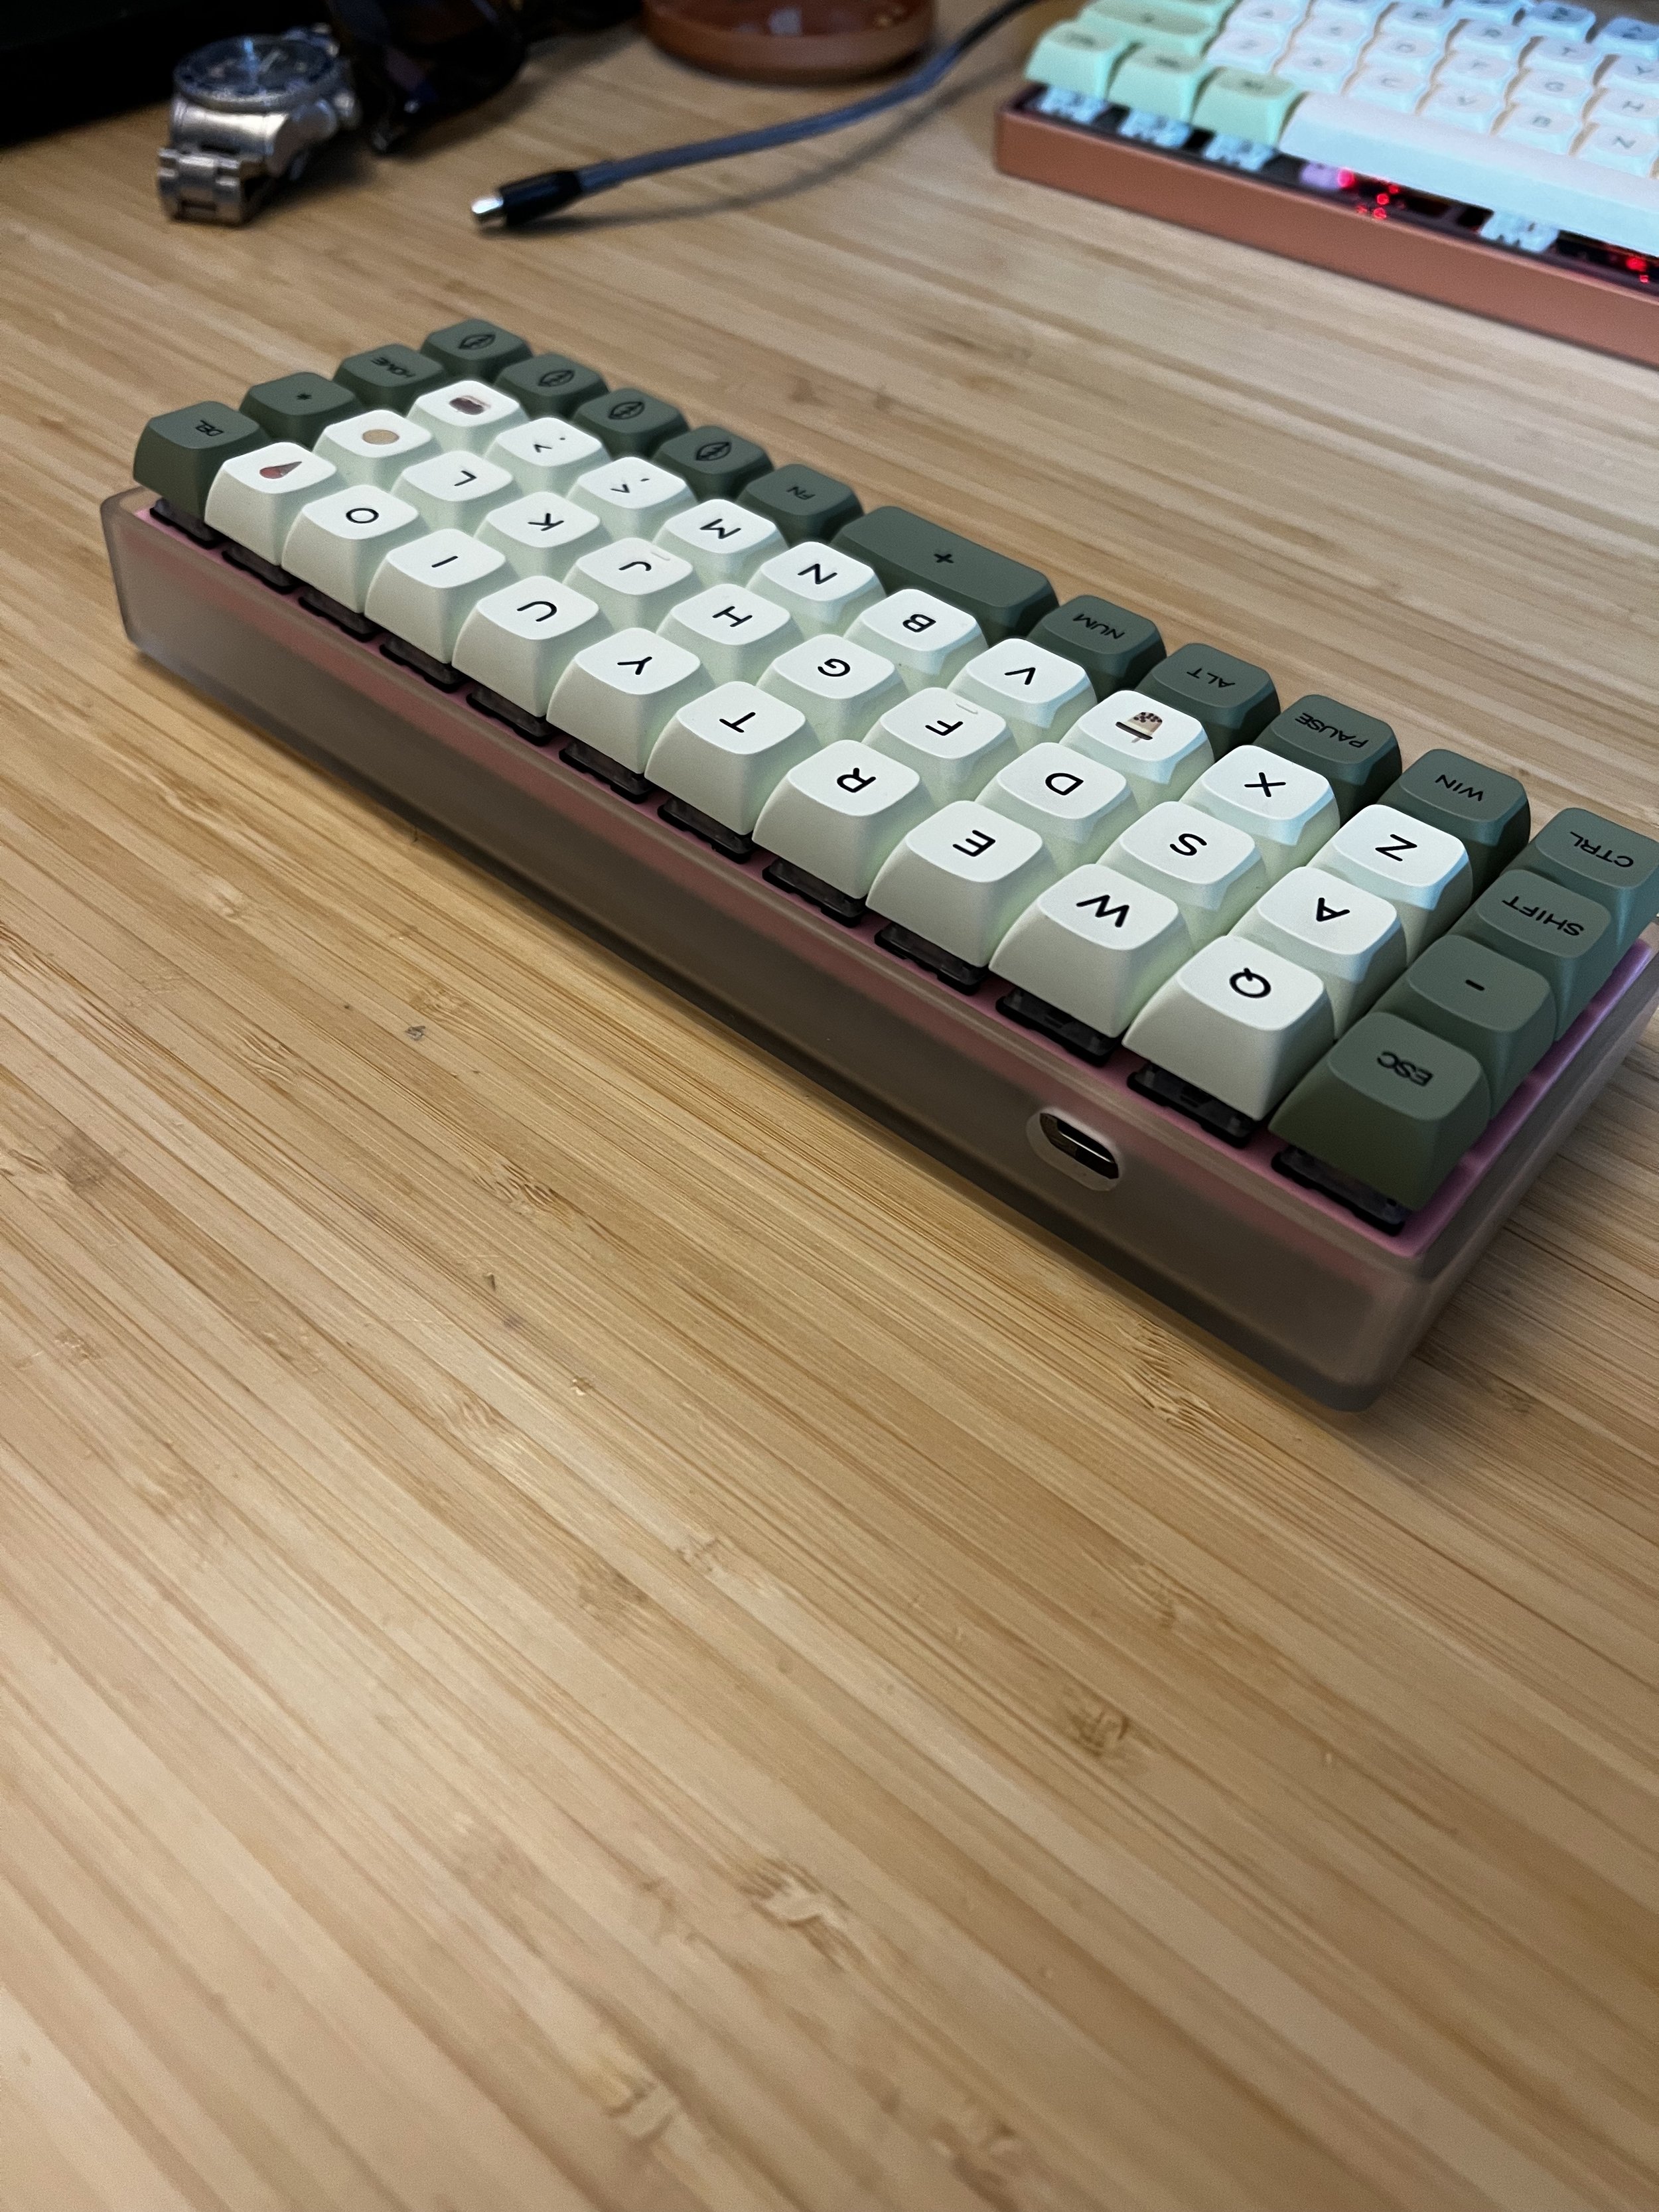
Quark 40%
This board started with an off the shelf 40% ortholinear PCB. I designed the pink plate using SolidWorks 2021 and printed it at home on my Ender 3. Getting perfect rigidity while still allowing parts to fit took several iterations, especially because the Ender is finicky. I printed the case using a Formlabs Form 3 SLA printer which was also a learning curve due to the differences in SLA and FDM printing. Looking back, making the case more low profile would be helpful but over all it was a successful project.
I chose a modified 60% layout because the 100% and ten-key-less layouts always seemed bulky to me, and I never found myself using all of the keys on those keyboards. Through the use of layers, I still have full access to all of my function keys and a hidden number pad on my second layer. This keyboard along with the software allowed me too add a custom CAD layer as well, allowing me to build macros directly into the keyboard software. This improved my workflow, as I didn’t have to sift through Solidworks toolbars in order to find certain tools.
After buying my first mechanical keyboard off the shelf, I wanted to dig deeper and build a fully custom mechanical keyboard completely to my specifications. It took months of research (who knew there were so many different switches for keyboards). After selecting all the parts, I ordered everything and began the two month wait for everything from China. I learned so much about a new hobby by building my own keyboard, and I’m looking forward to my next build.
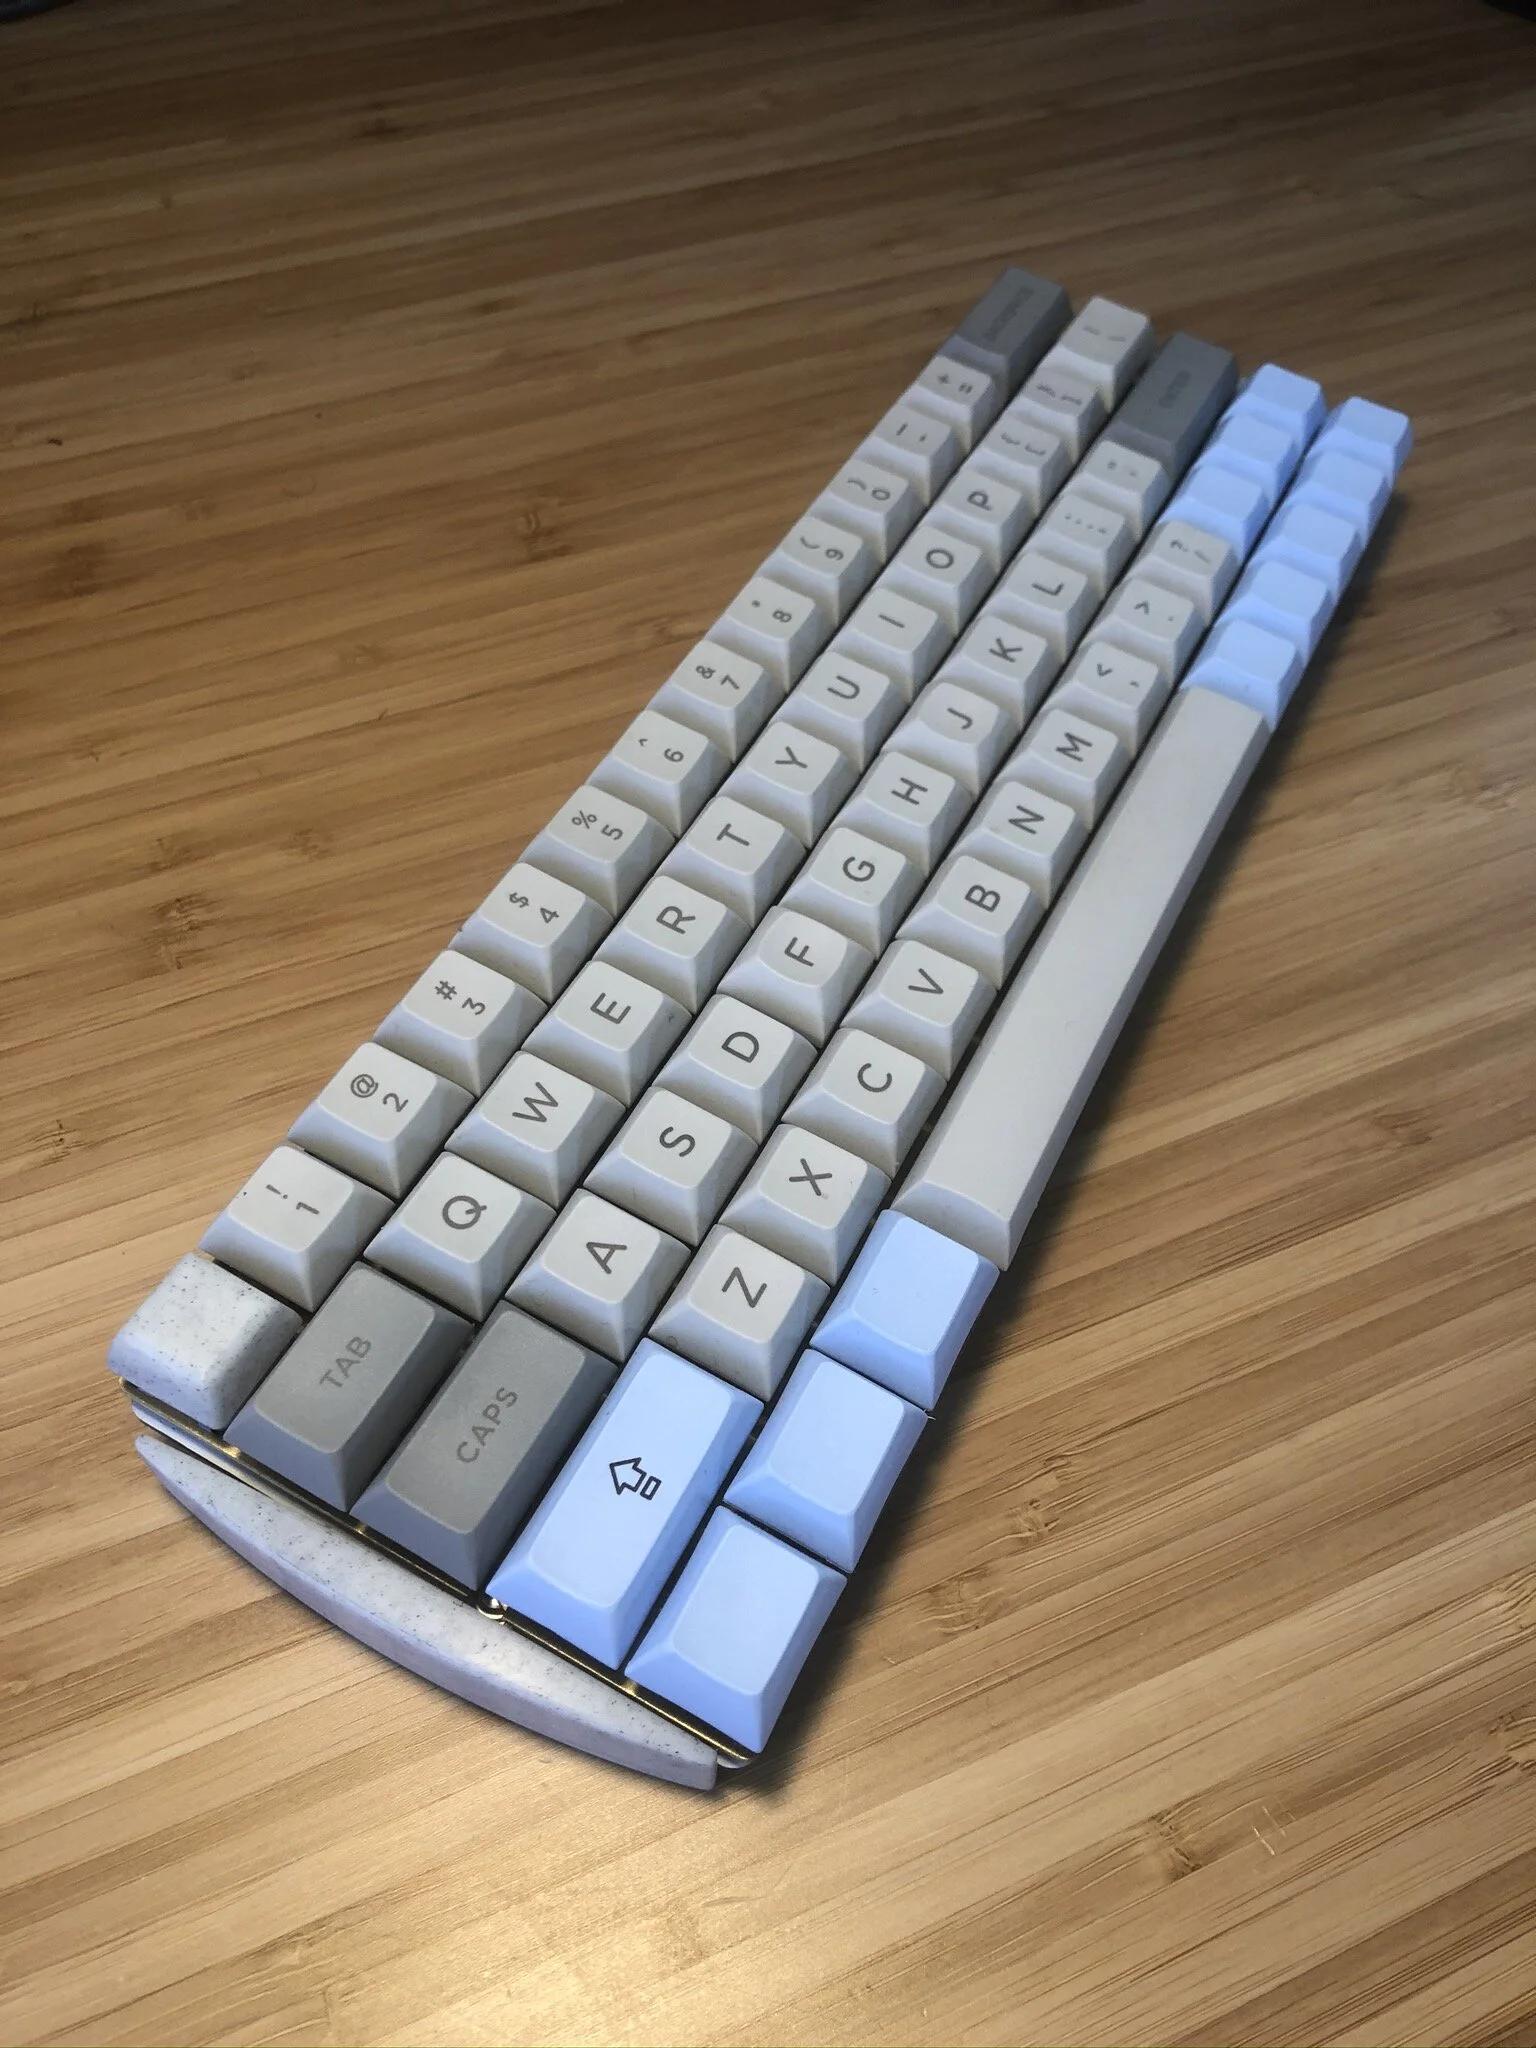
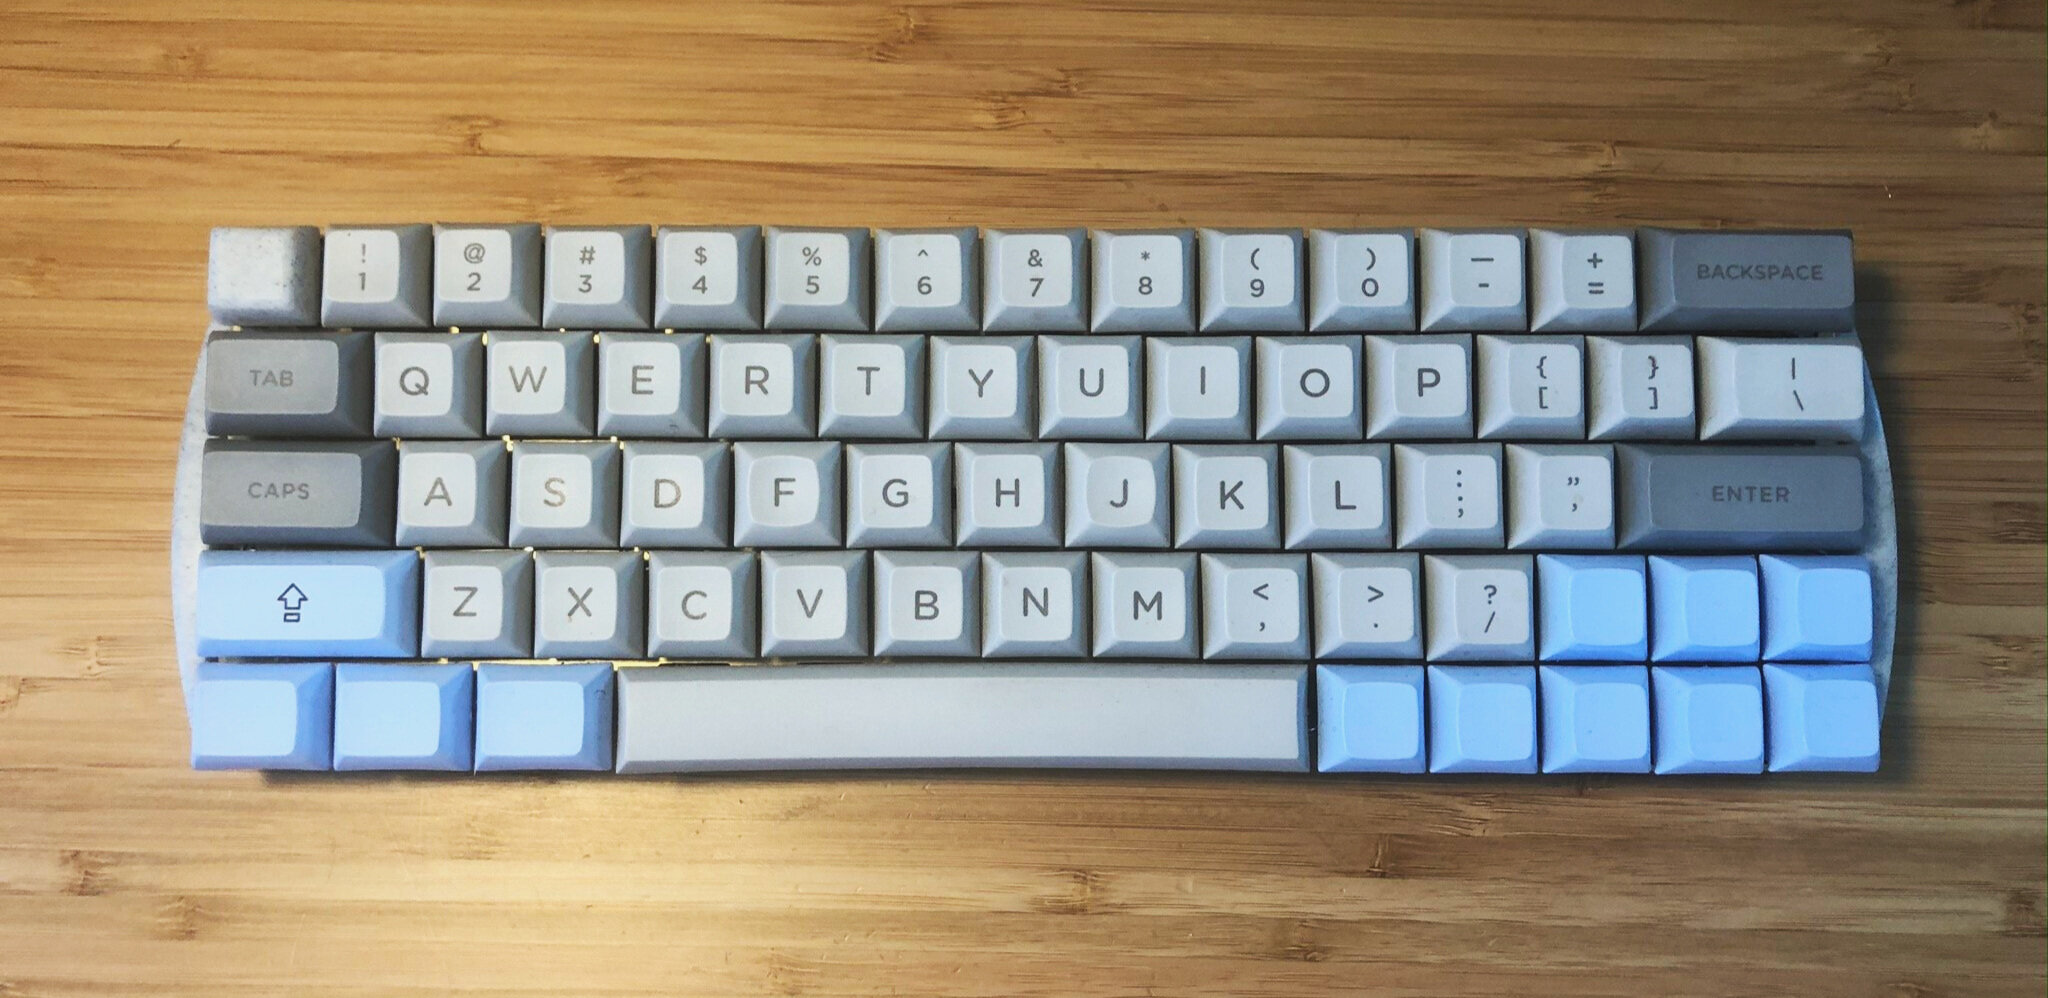
The keyboard has:
GK64 60% Hot Swap PCB
DZ60 Brass Plate
Gateron Milk Black Switches
DSA Keycaps
Custom 3D Printed Feet
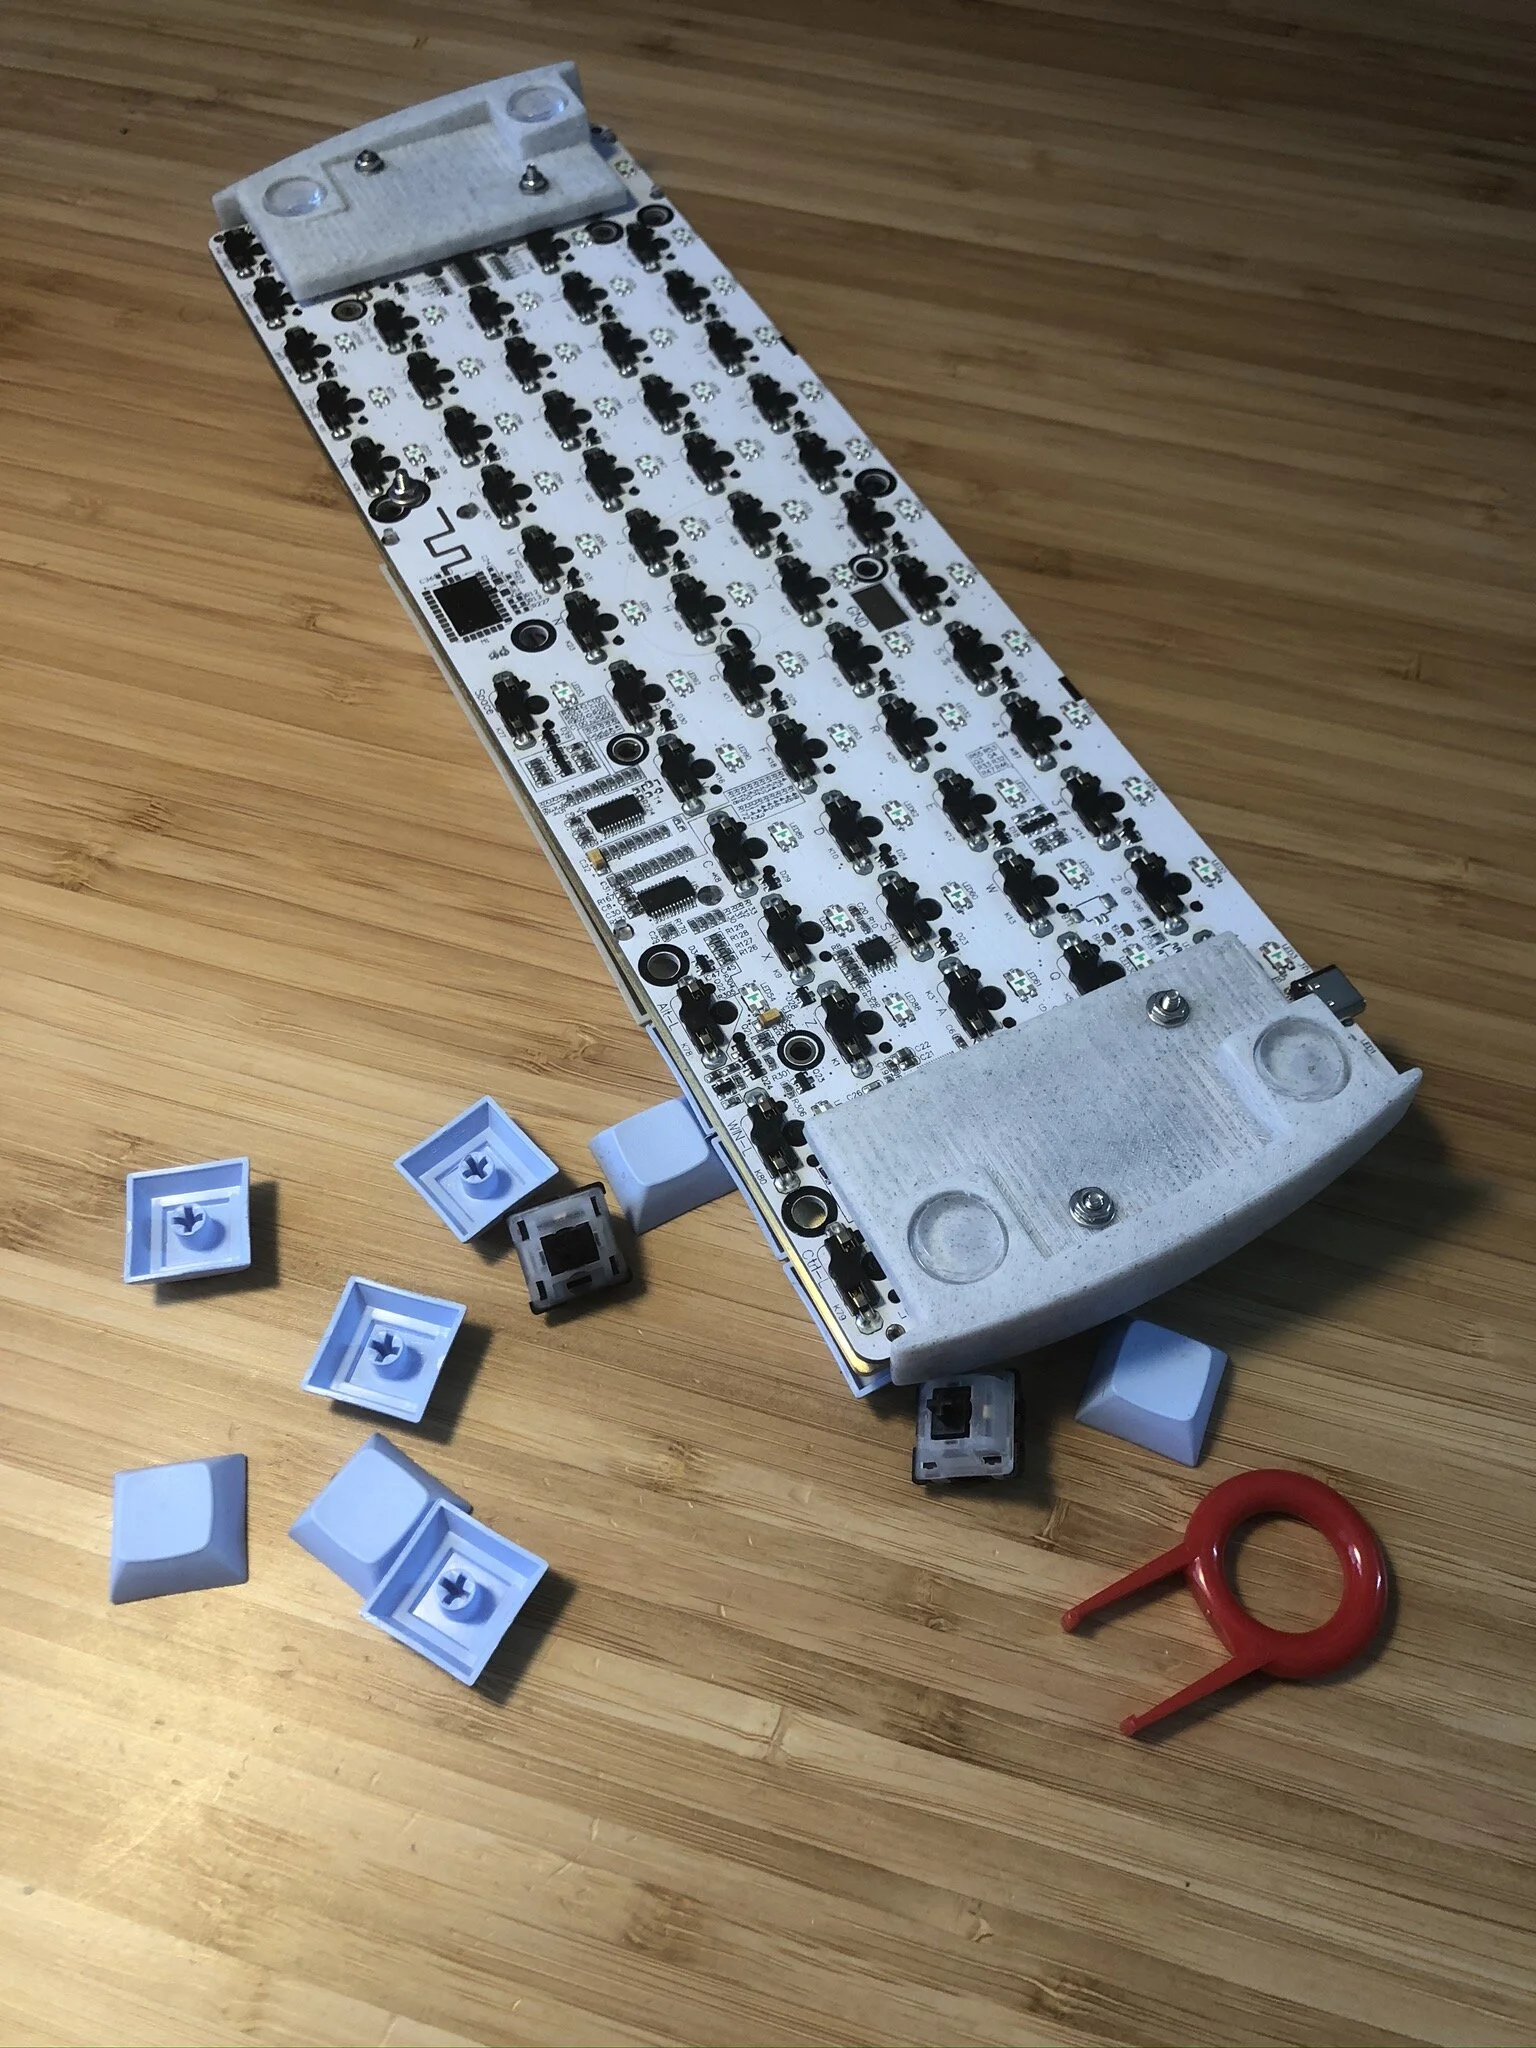
I chose a hot-swap 60% PCB, because I wanted the freedom to change switches for individual keys. I also chose linear switches, because my desk is close to others, and I wouldn’t want to bother them with overly loud clicky switches. I used Gateron Milk Black switches and I lubed them with Krytox 205. Although taking apart 70 switches by hand and lubing them with a syringe was painstaking, it was worth it. The switches are incredibly smooth and quiet, and the industrial lubricant is rated far past this application.
For the chassis of the keyboard, many people buy a commercial case. I wanted to have something custom on it, so I decided to 3D print the legs for it. I designed the legs in Solidworks 2018 and sliced it with Cura. I own an Ender 3, so printing a full case for the keyboard would have been too large for my print bed. I chose to print two separate legs. I started drafting legs, mounting them, and reprinting. It involved two or three iterations to get the height and angle that I wanted. In the end, I’m very happy that I went fully custom for the legs. After printing in PLA, I sanded up to 1500 grit to get a smooth finish and added hardware from True Value along with rubber feet from Amazon.