Street Address
City, State, Zip
Phone Number
Your Custom Text Here

Your Custom Text Here
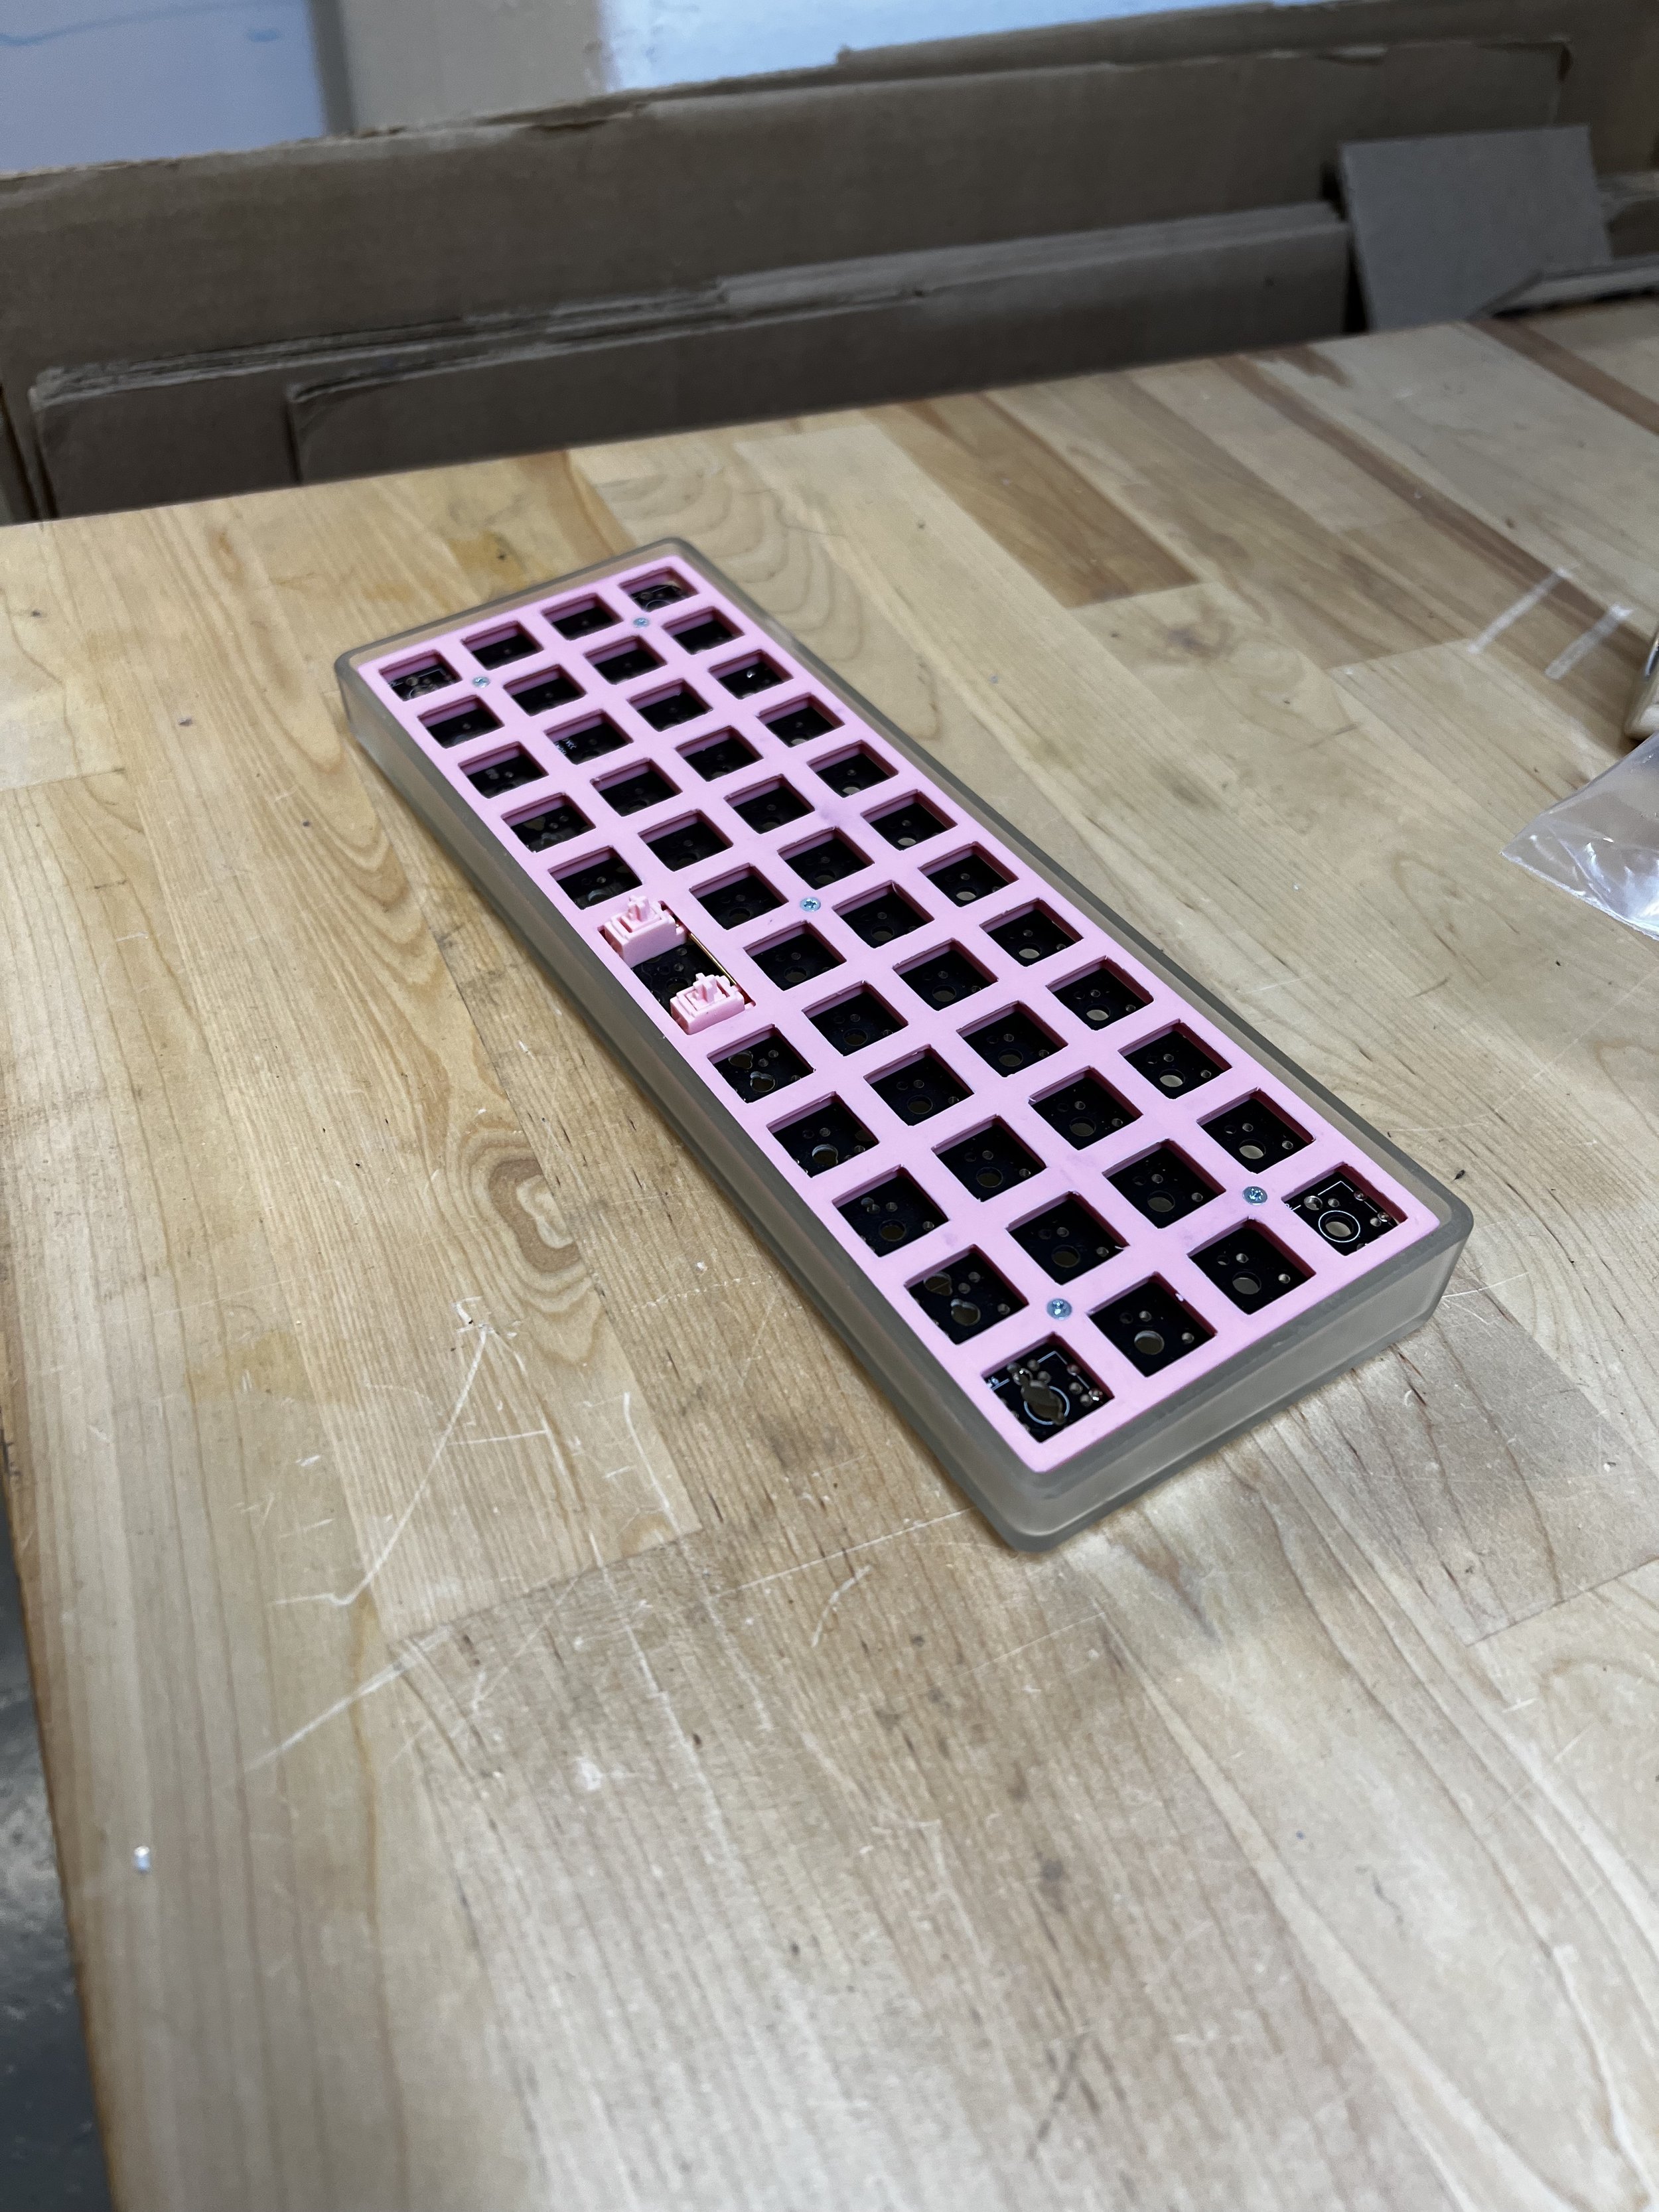
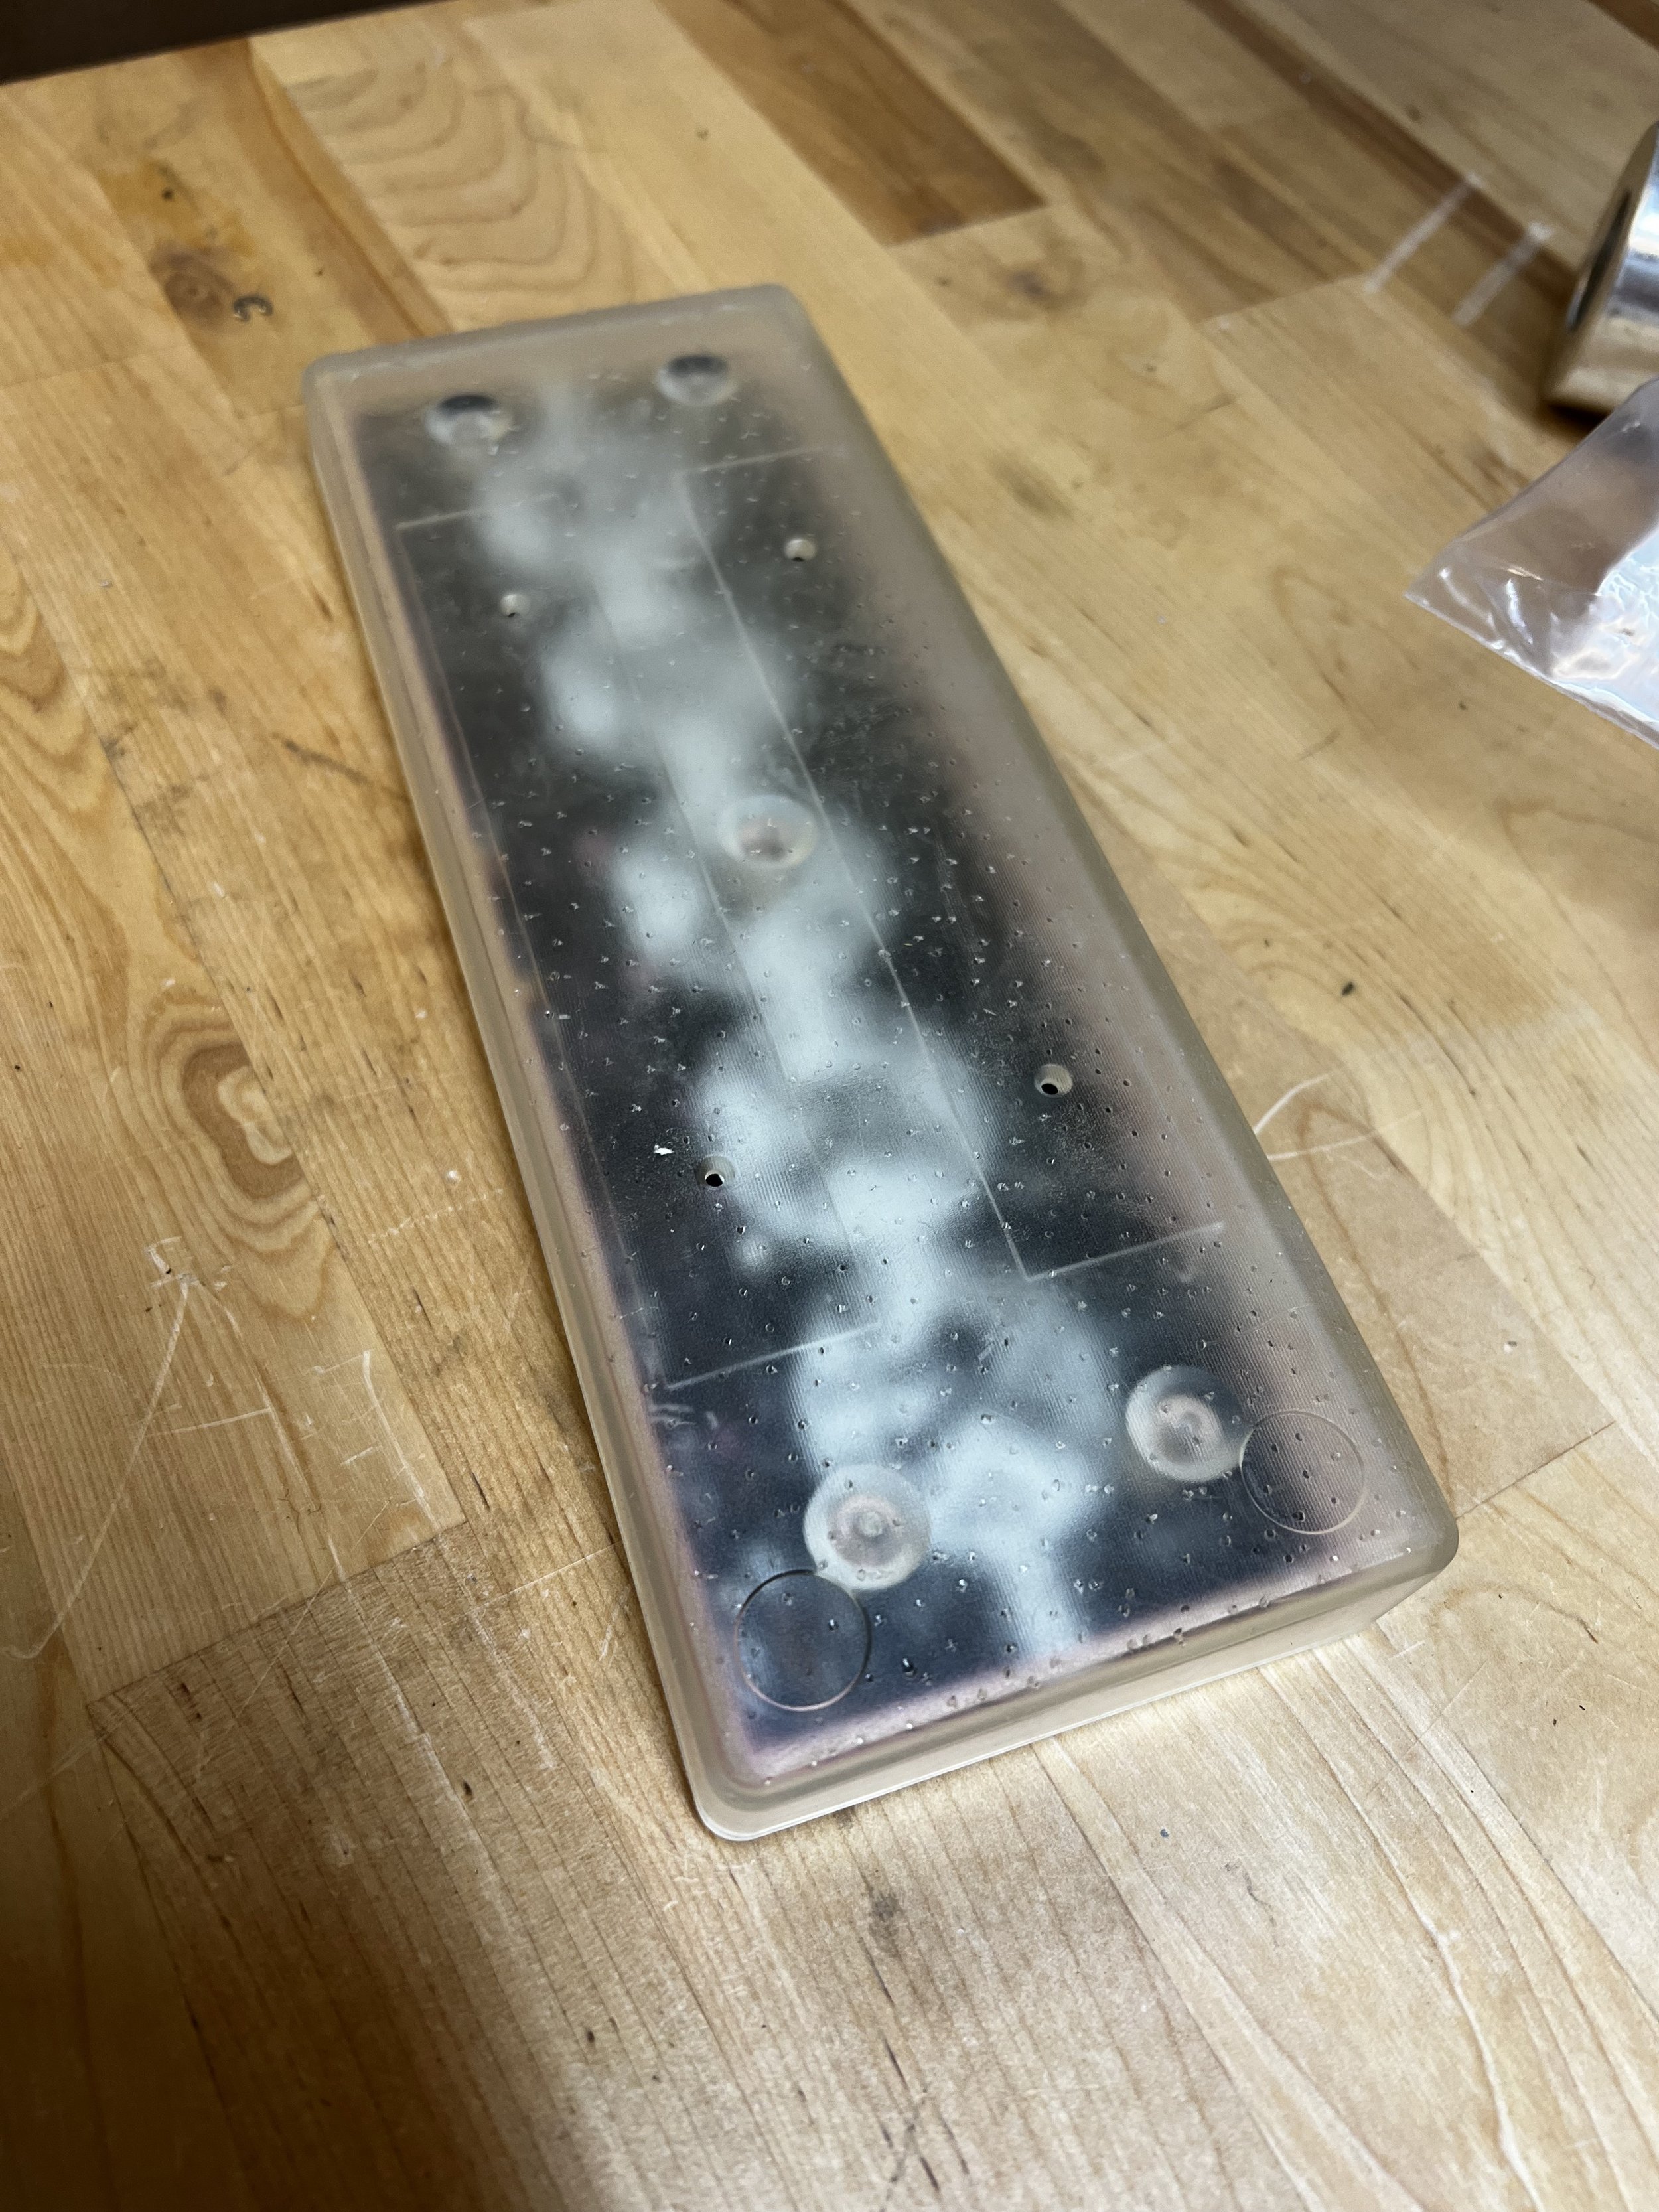
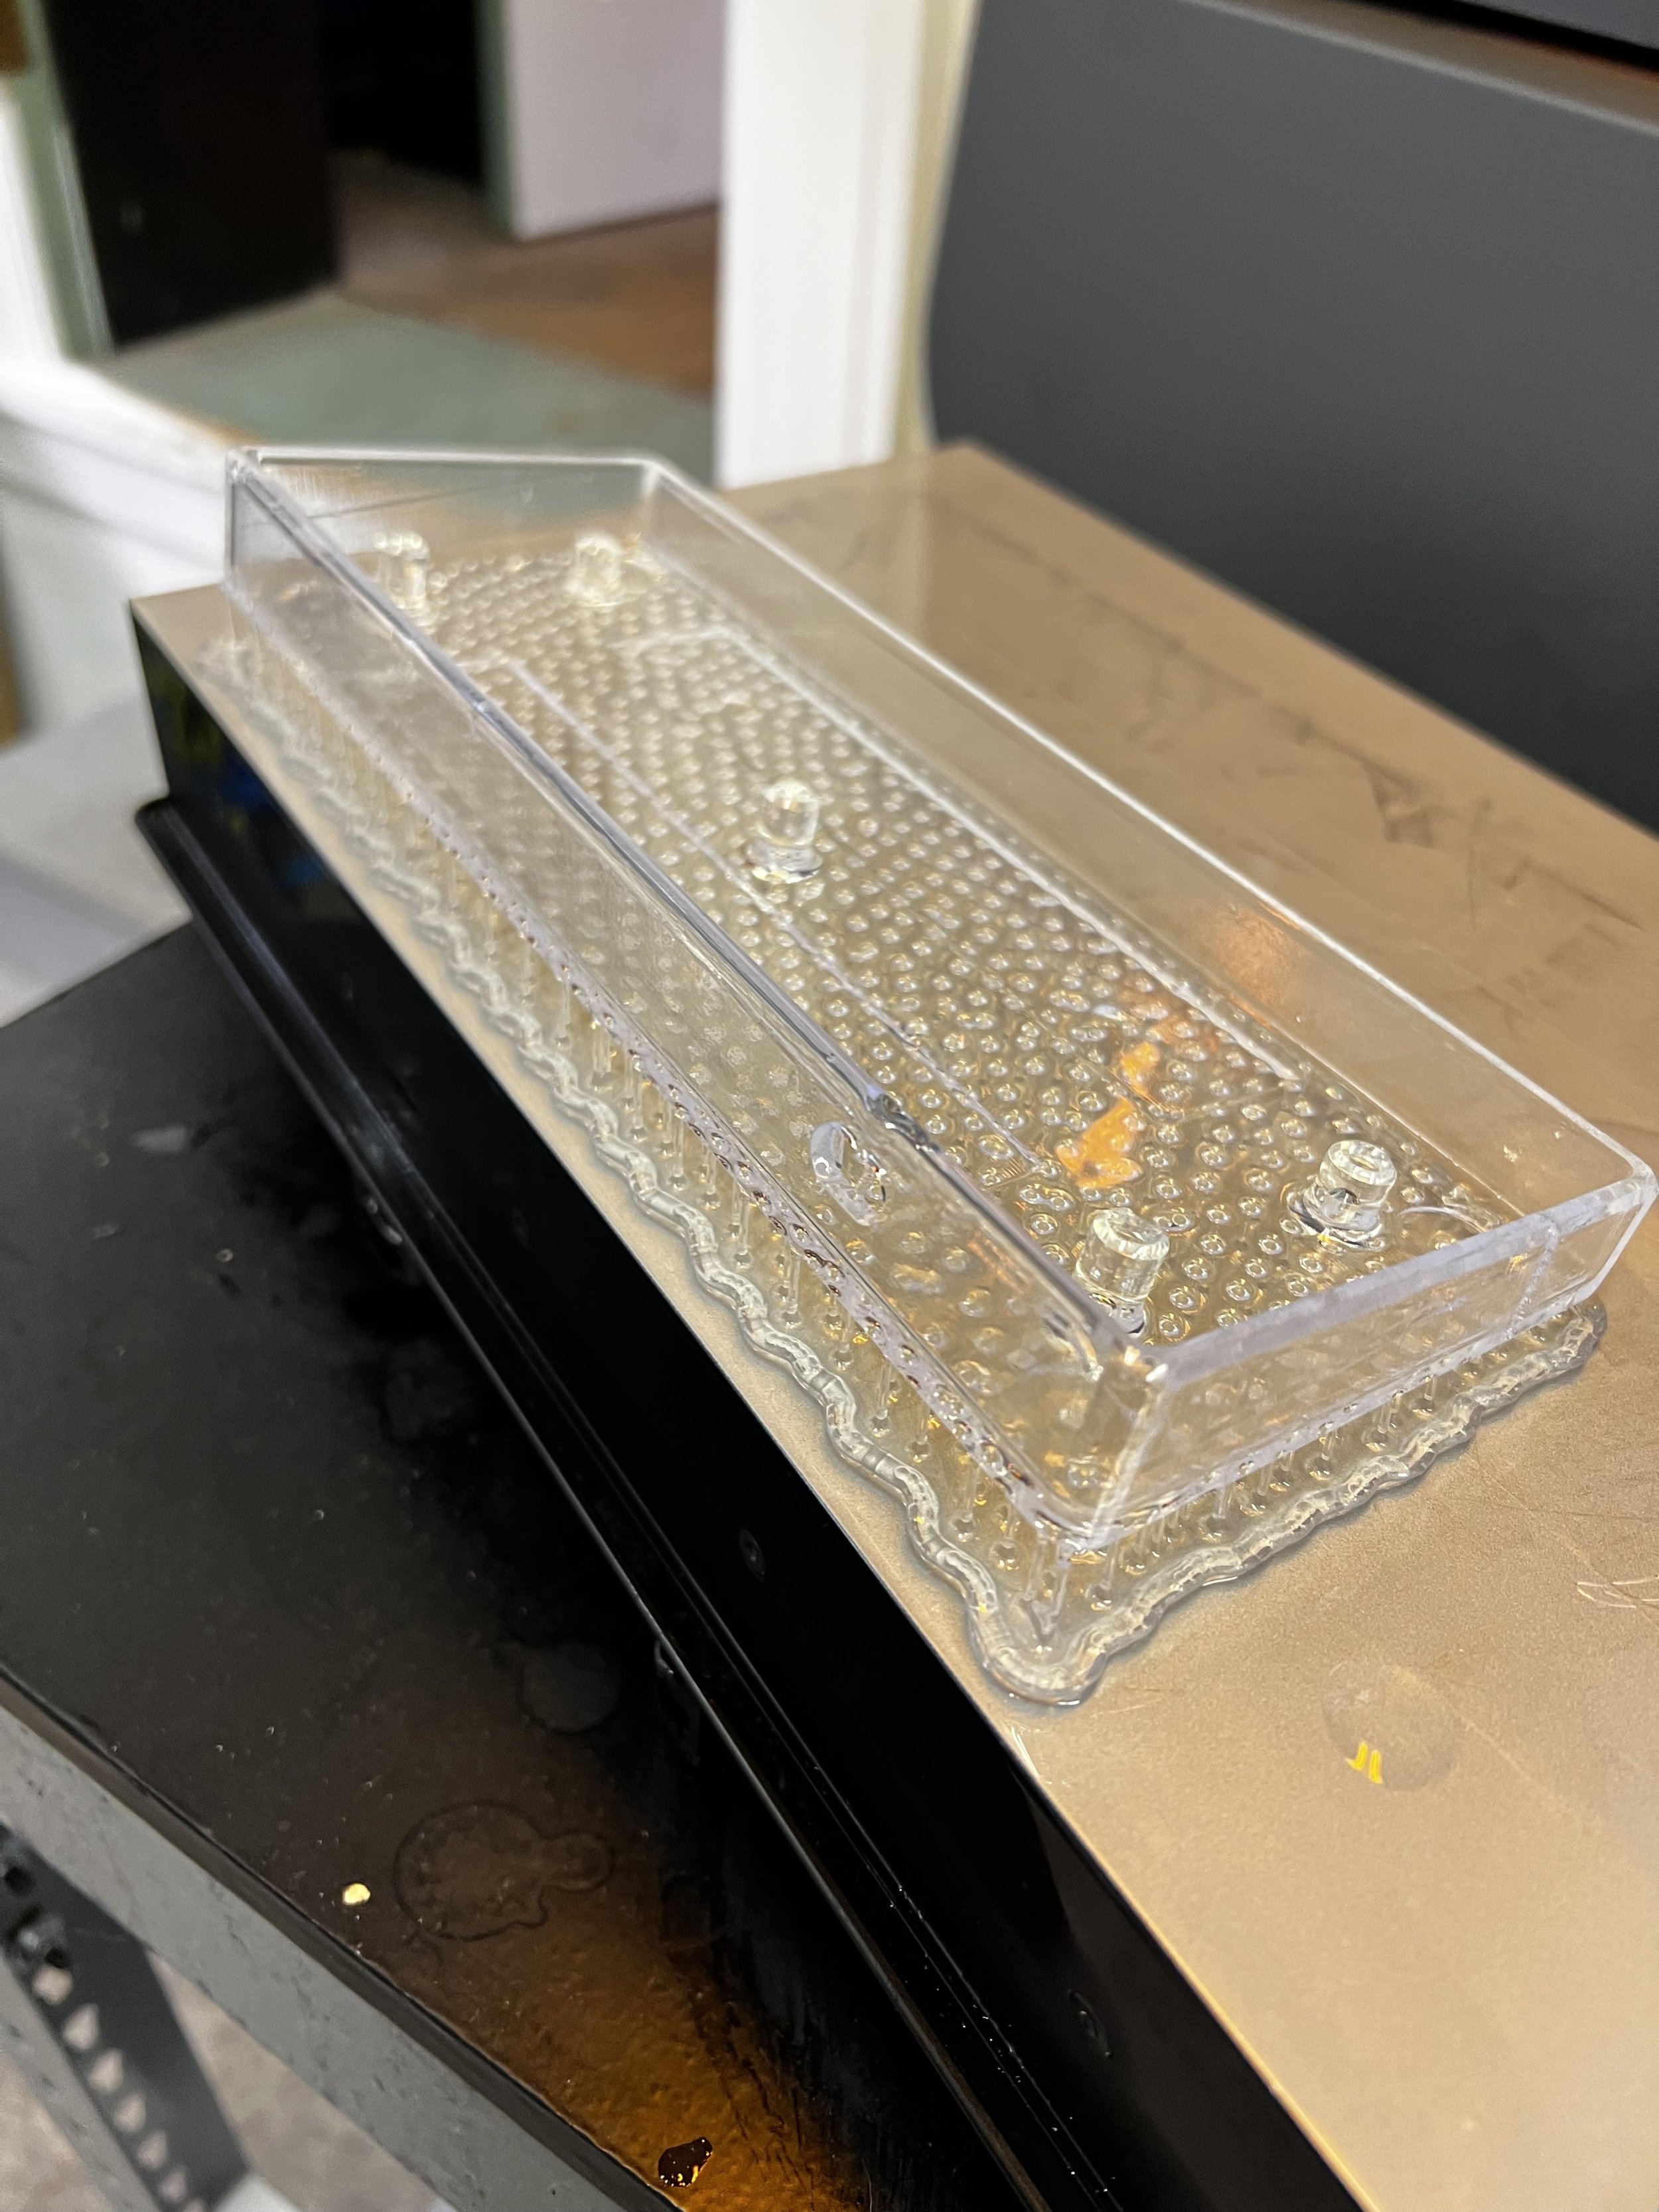
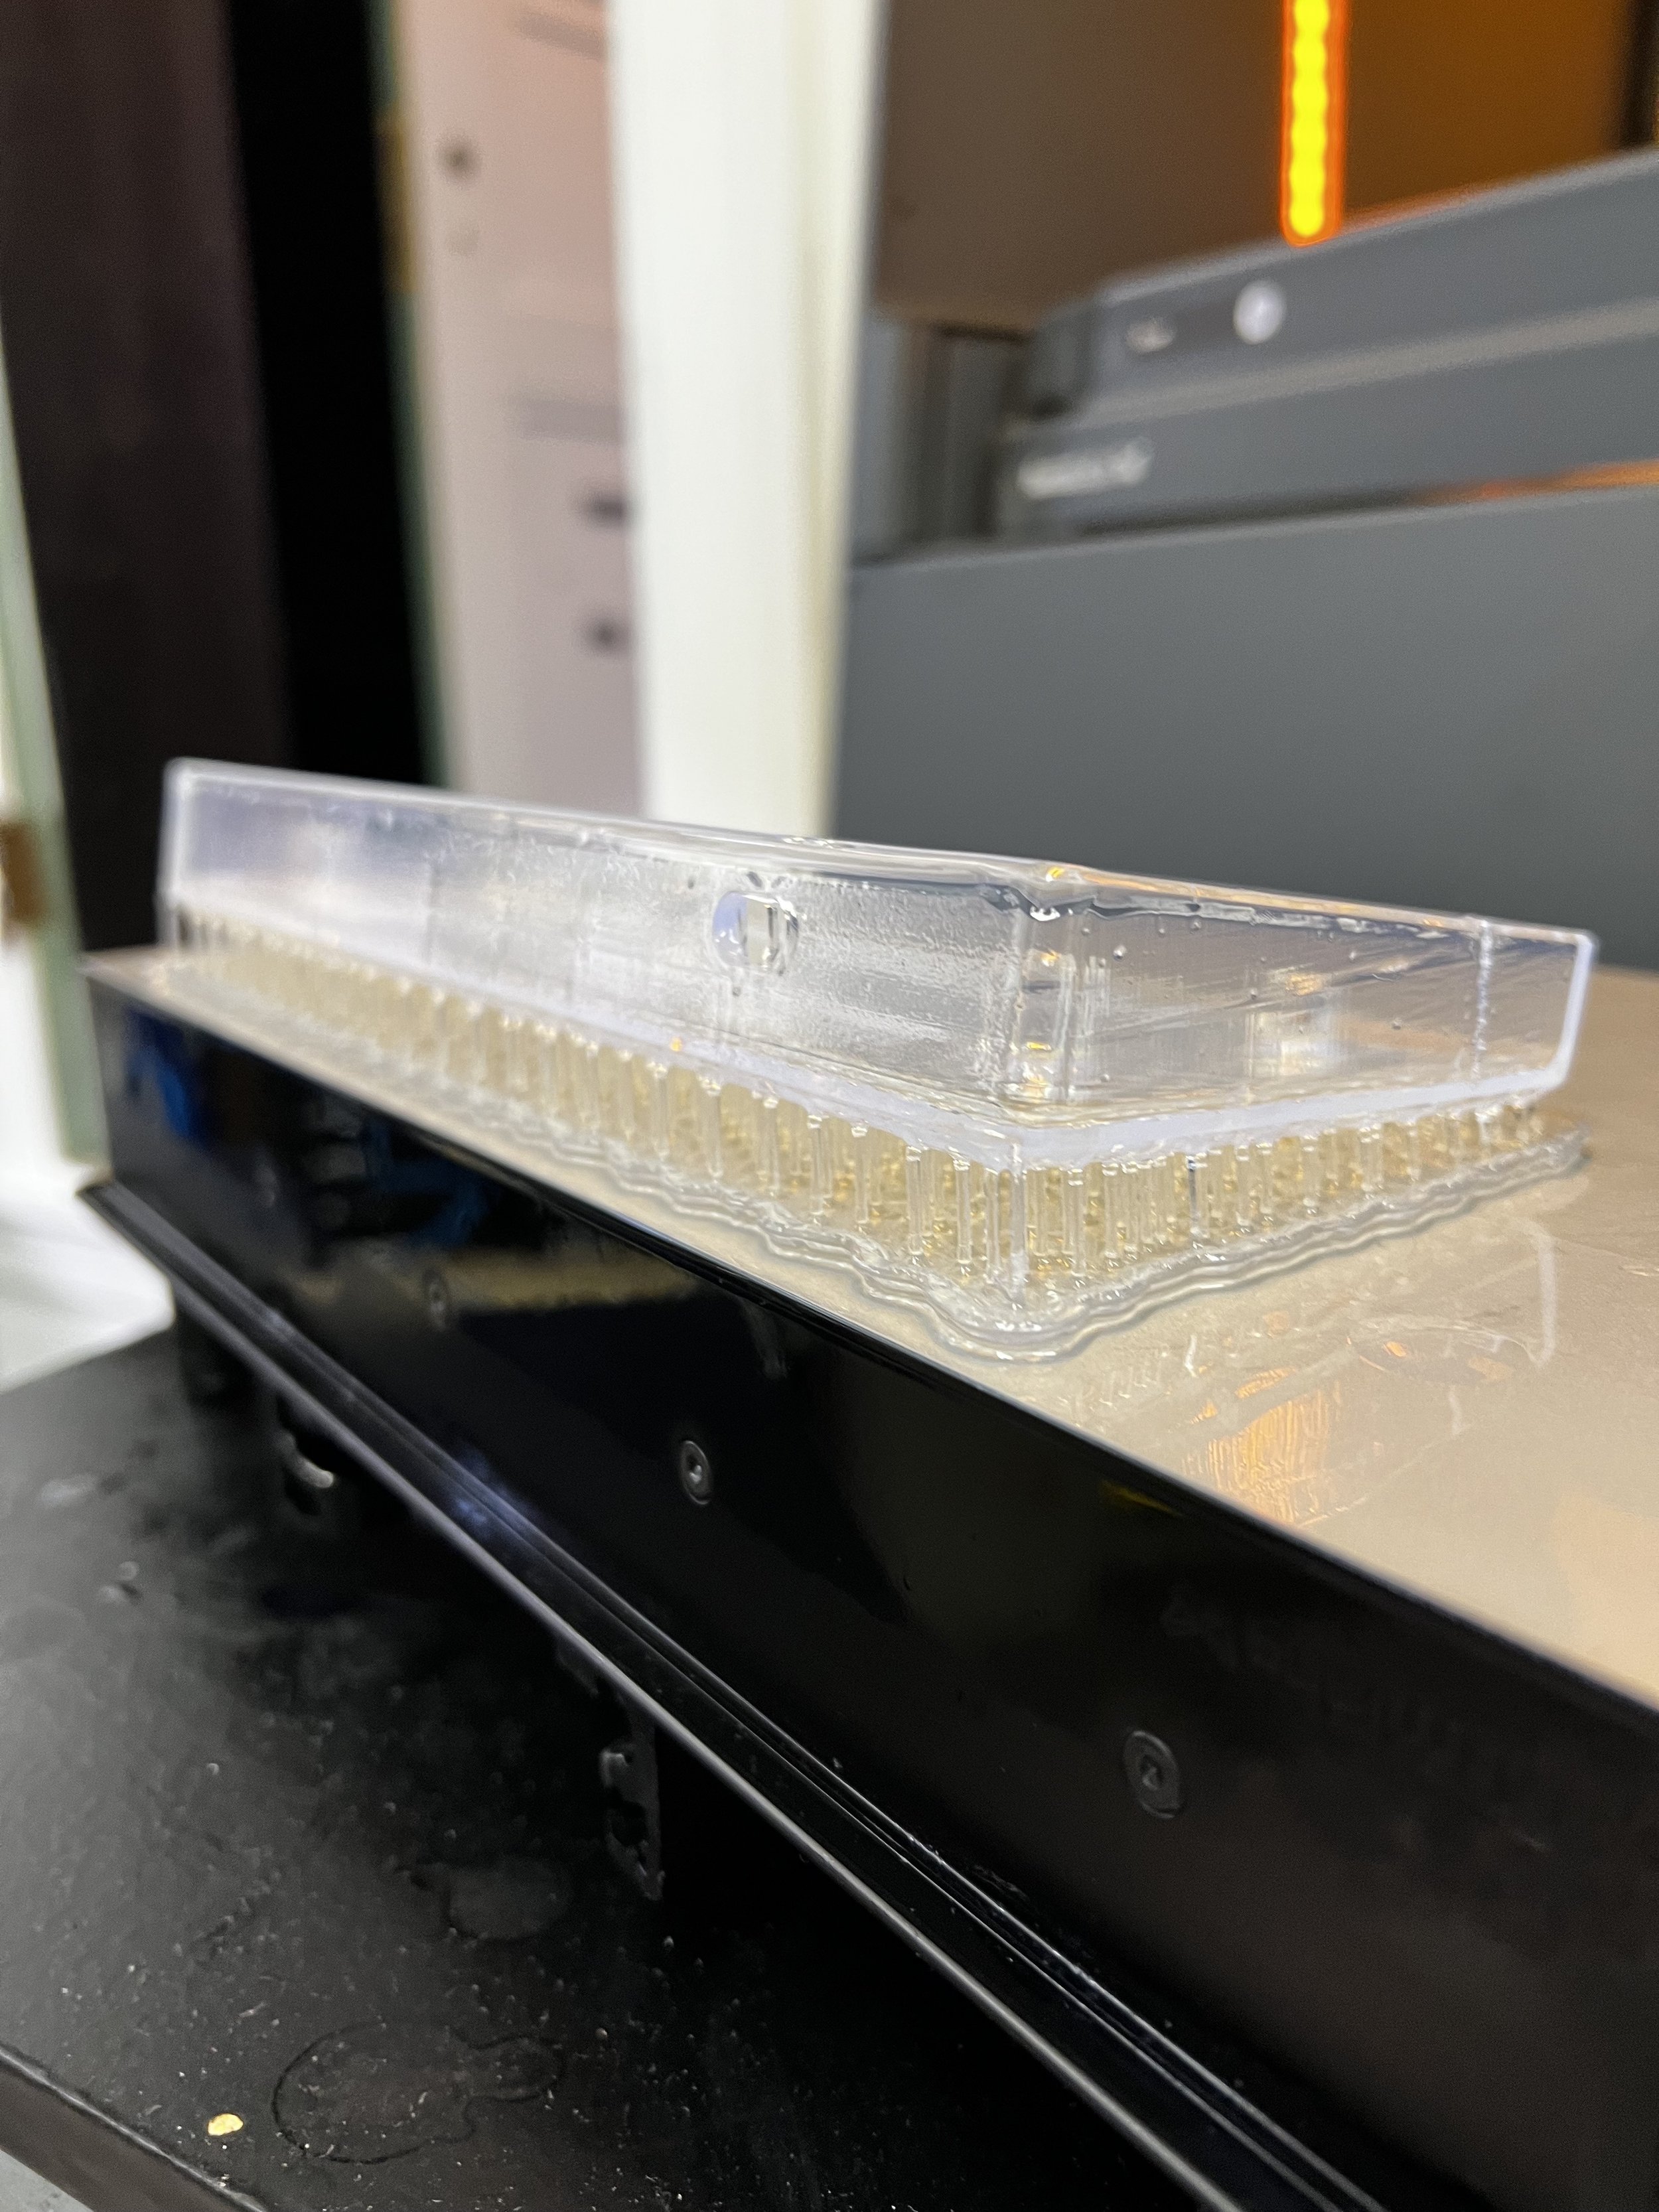
This board started with an off the shelf 40% ortholinear PCB. I designed the pink plate using SolidWorks 2021 and printed it at home on my Ender 3. Getting perfect rigidity while still allowing parts to fit took several iterations, especially because the Ender is finicky. I printed the case using a Formlabs Form 3 SLA printer which was also a learning curve due to the differences in SLA and FDM printing. Looking back, making the case more low profile would be helpful but over all it was a successful project.
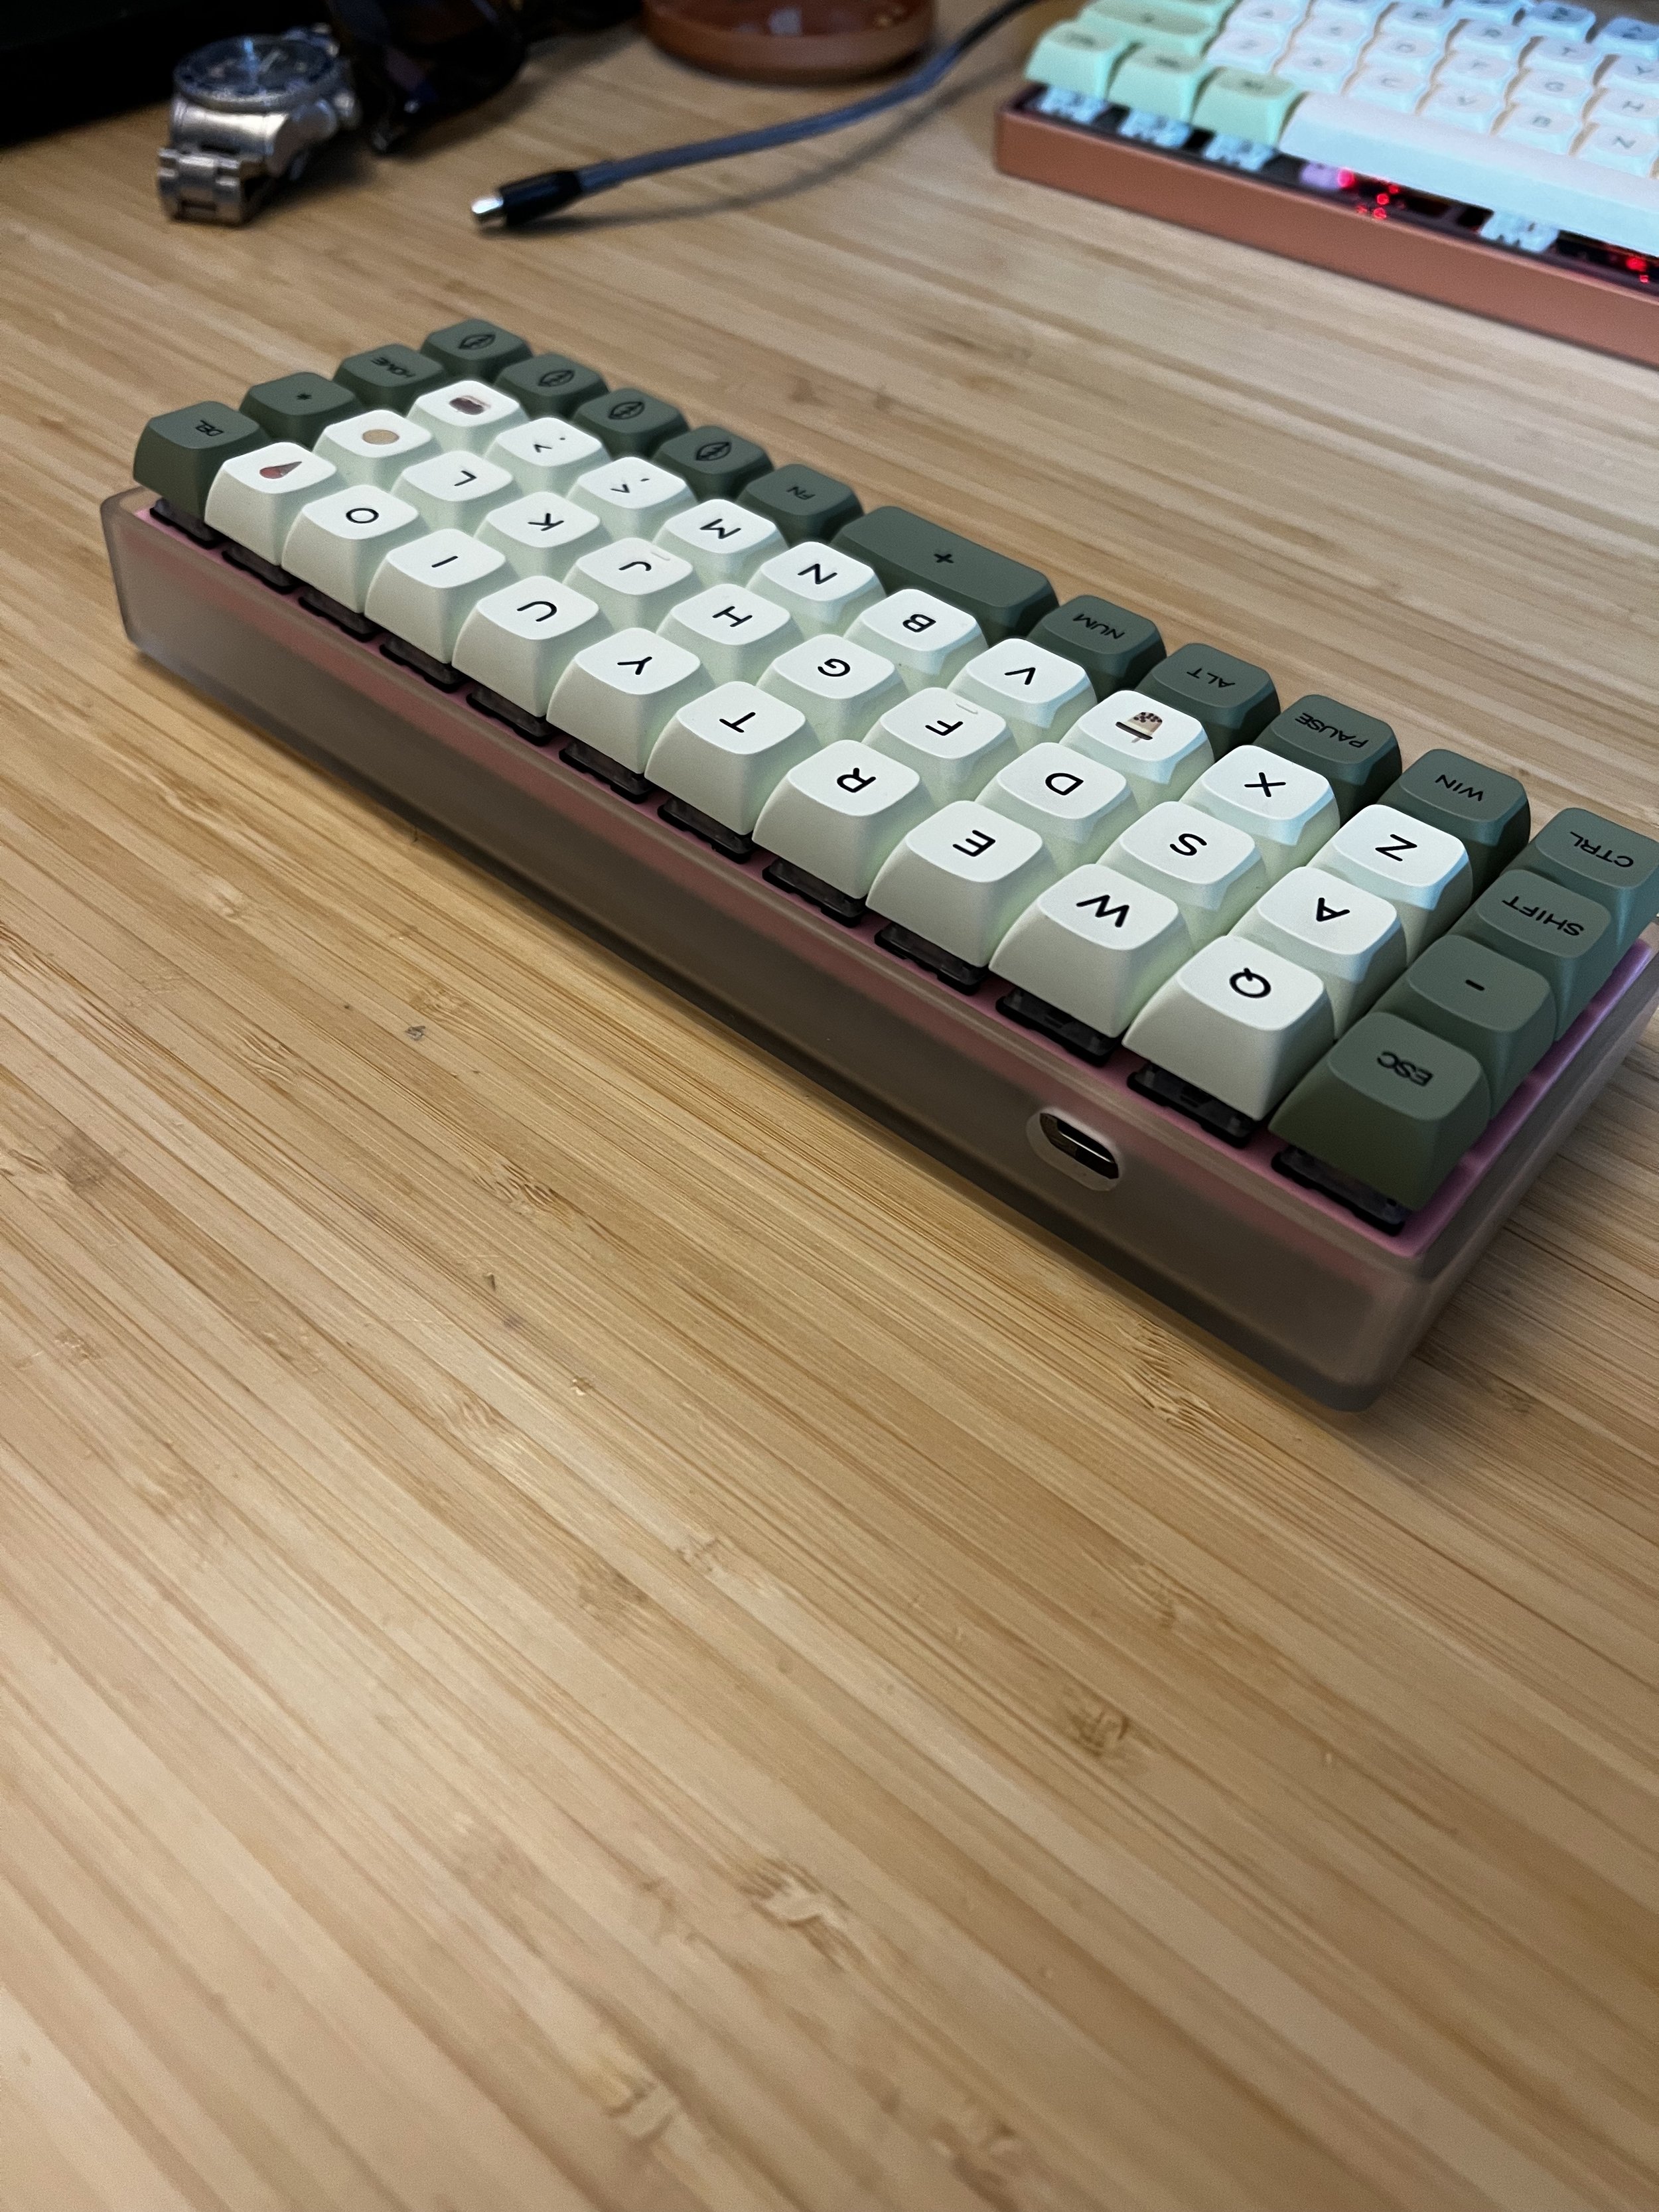
I chose a modified 60% layout because the 100% and ten-key-less layouts always seemed bulky to me, and I never found myself using all of the keys on those keyboards. Through the use of layers, I still have full access to all of my function keys and a hidden number pad on my second layer. This keyboard along with the software allowed me too add a custom CAD layer as well, allowing me to build macros directly into the keyboard software. This improved my workflow, as I didn’t have to sift through Solidworks toolbars in order to find certain tools.
After buying my first mechanical keyboard off the shelf, I wanted to dig deeper and build a fully custom mechanical keyboard completely to my specifications. It took months of research (who knew there were so many different switches for keyboards). After selecting all the parts, I ordered everything and began the two month wait for everything from China. I learned so much about a new hobby by building my own keyboard, and I’m looking forward to my next build.
The keyboard has:
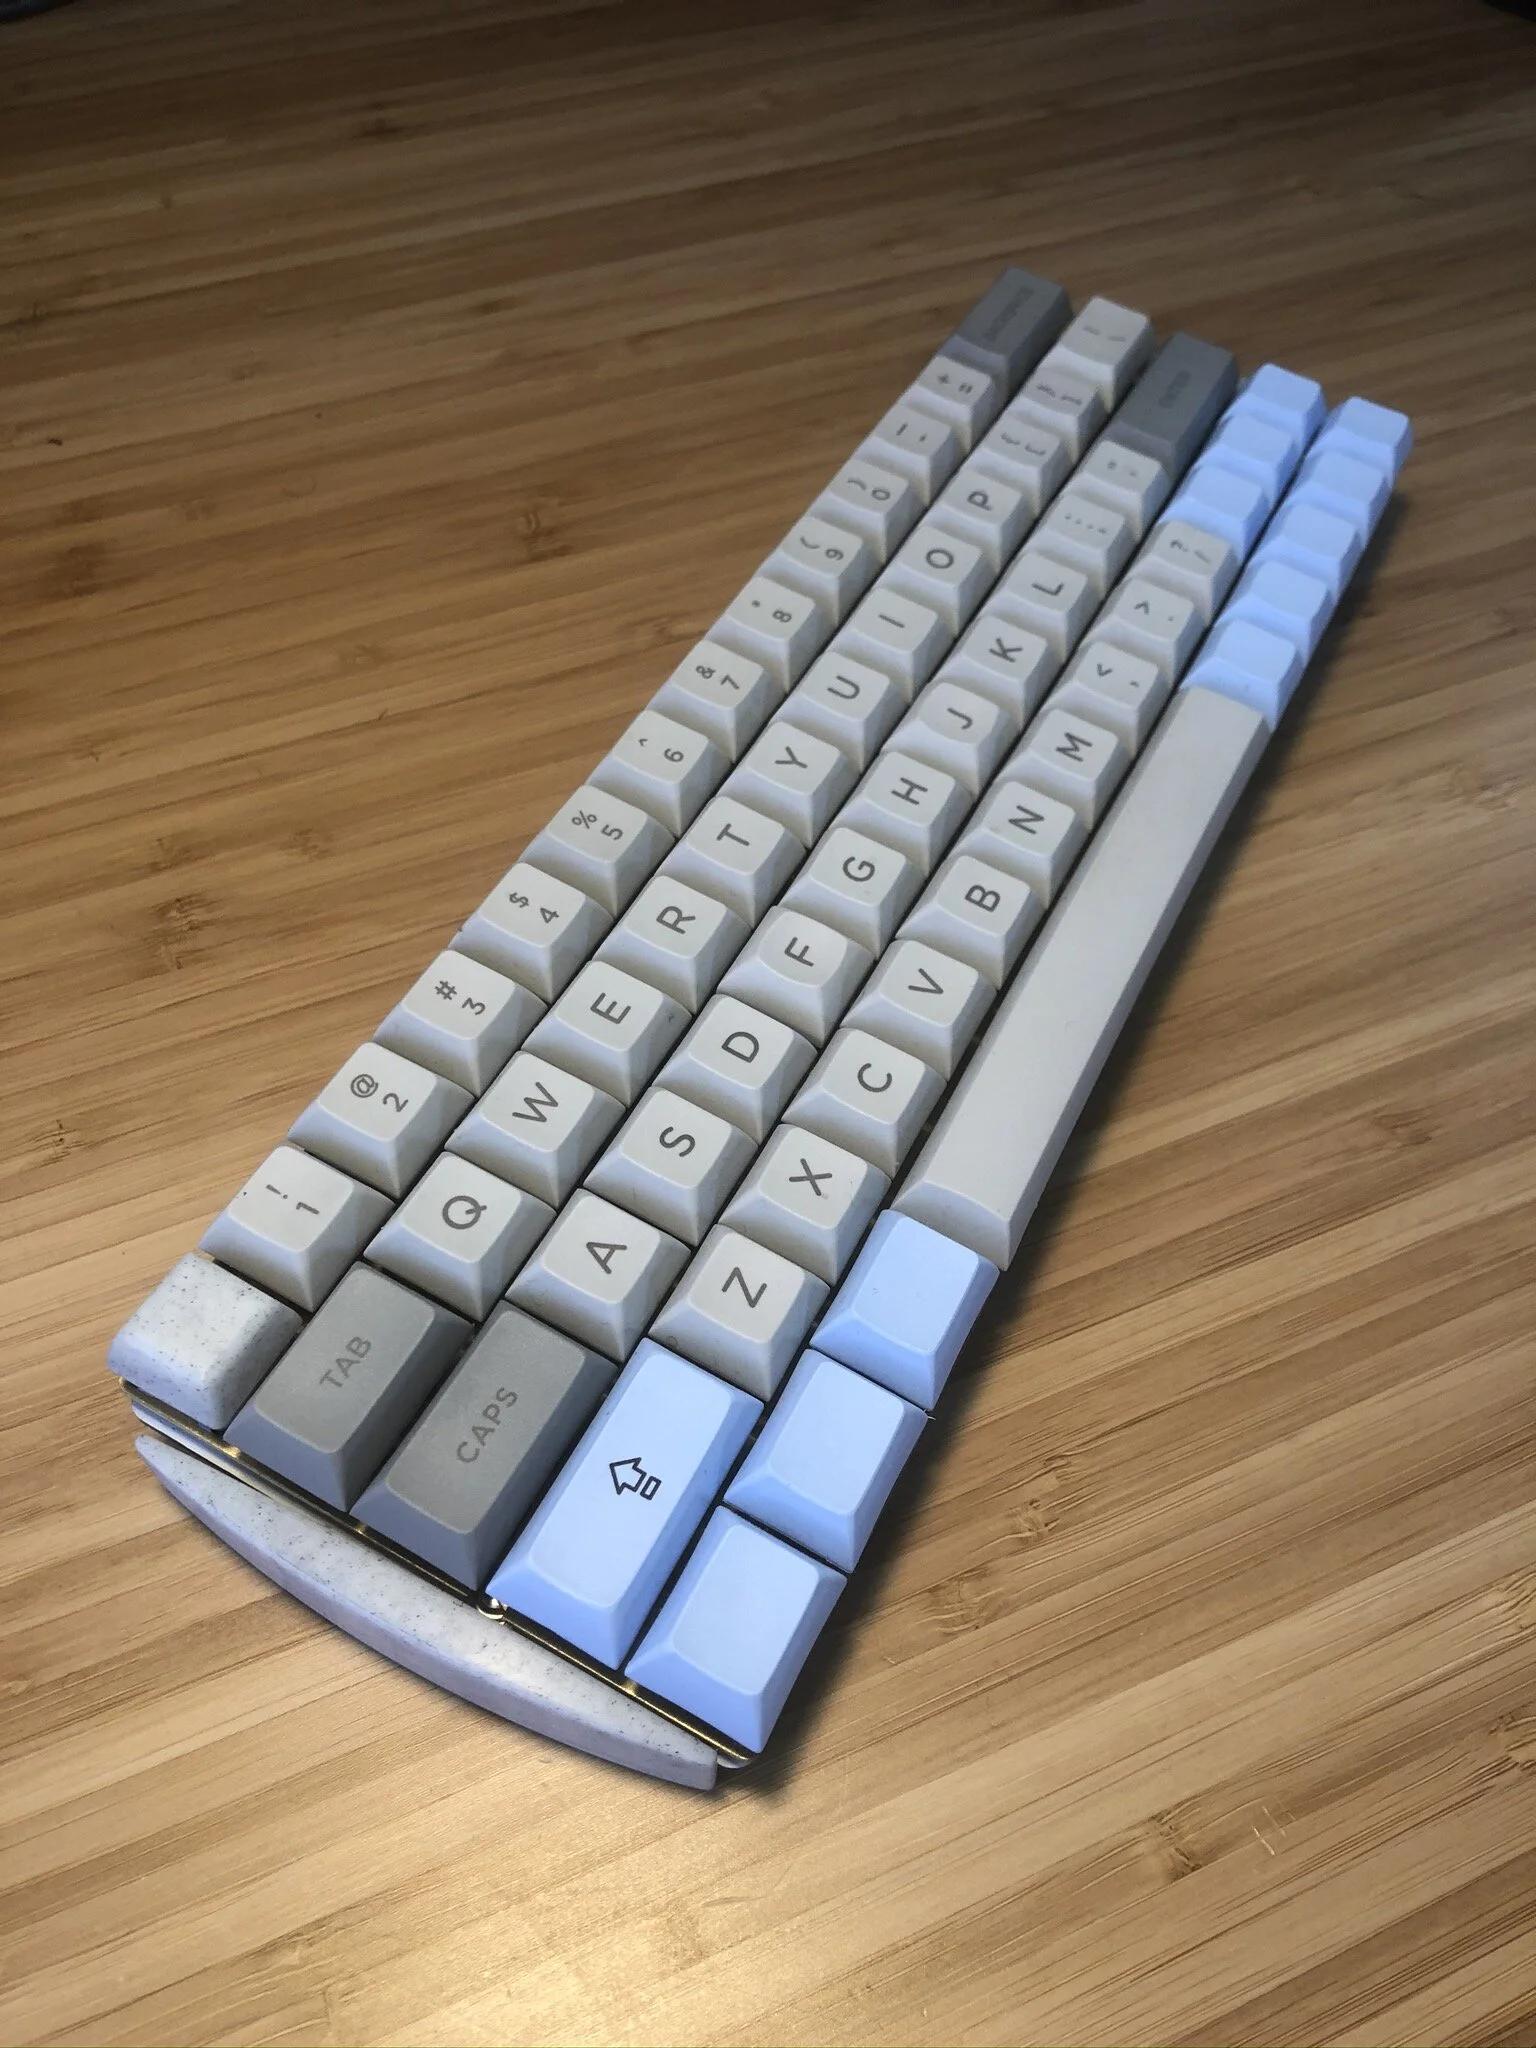
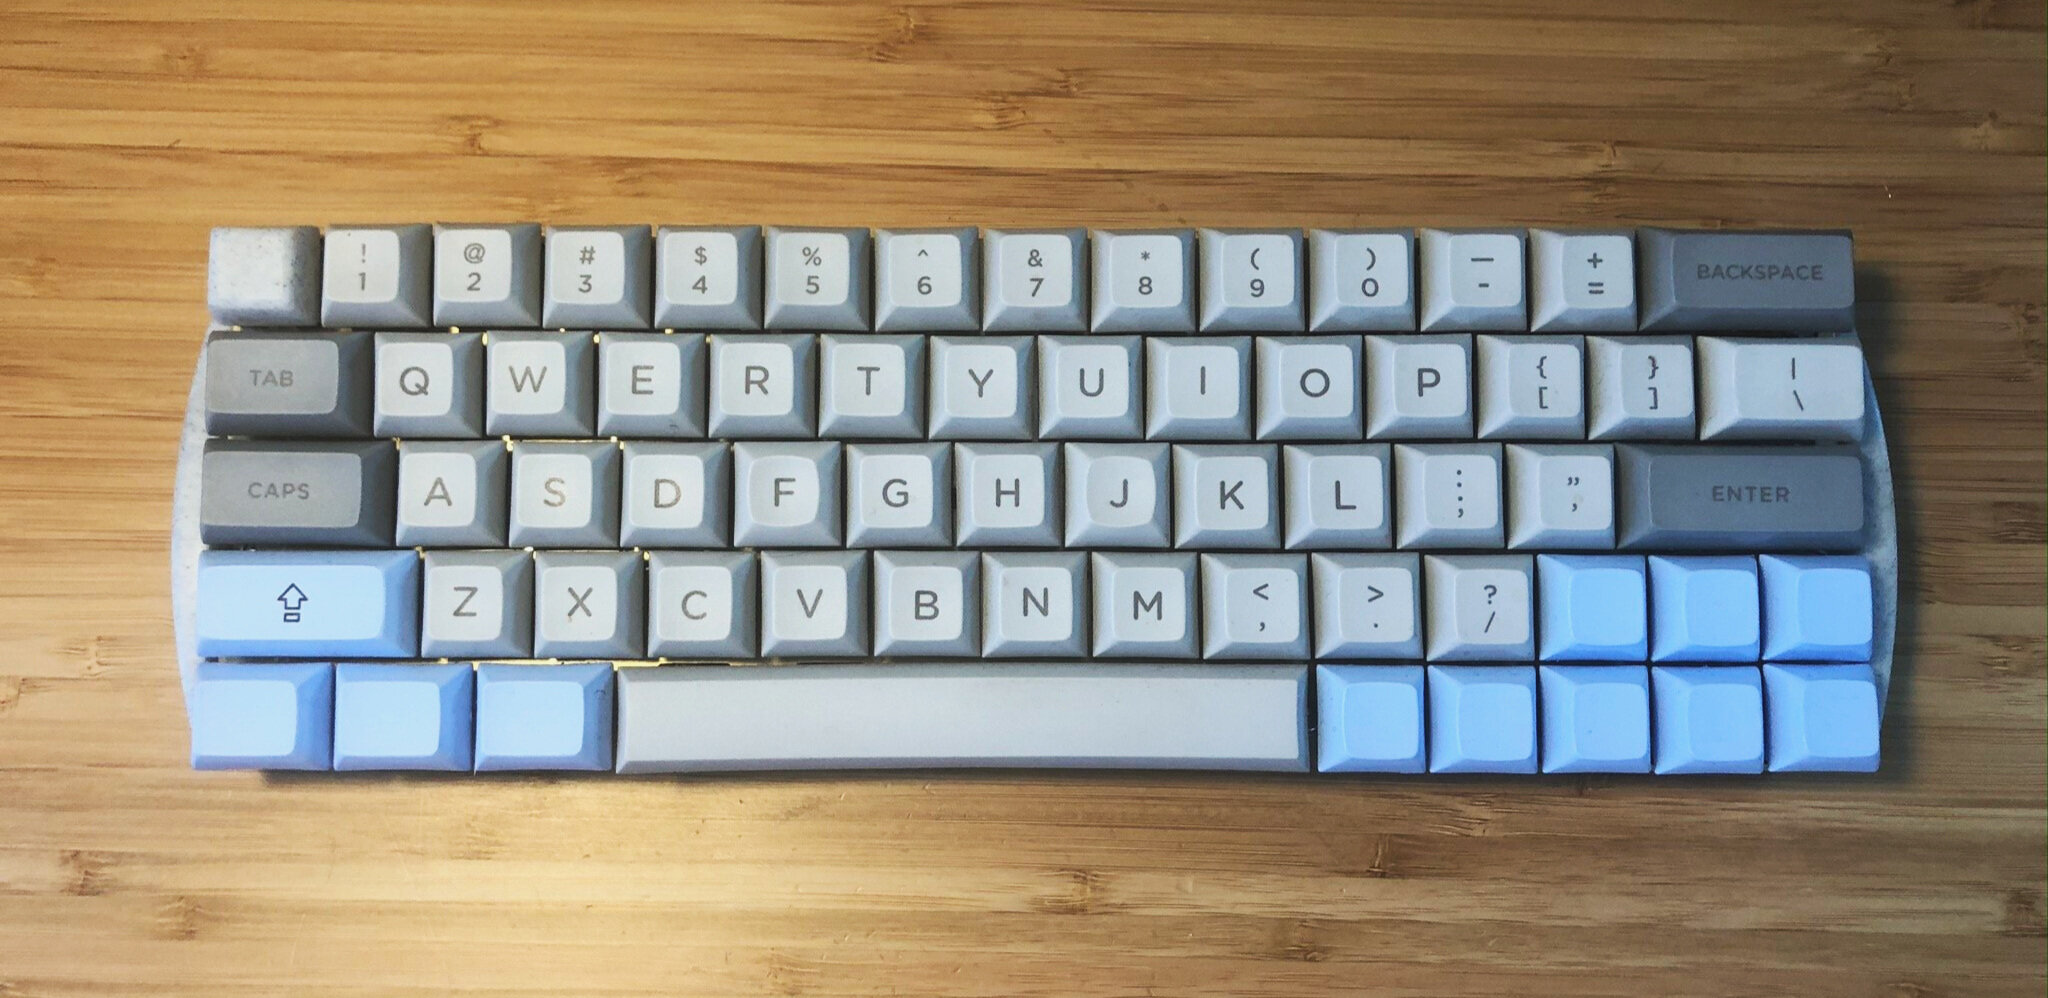
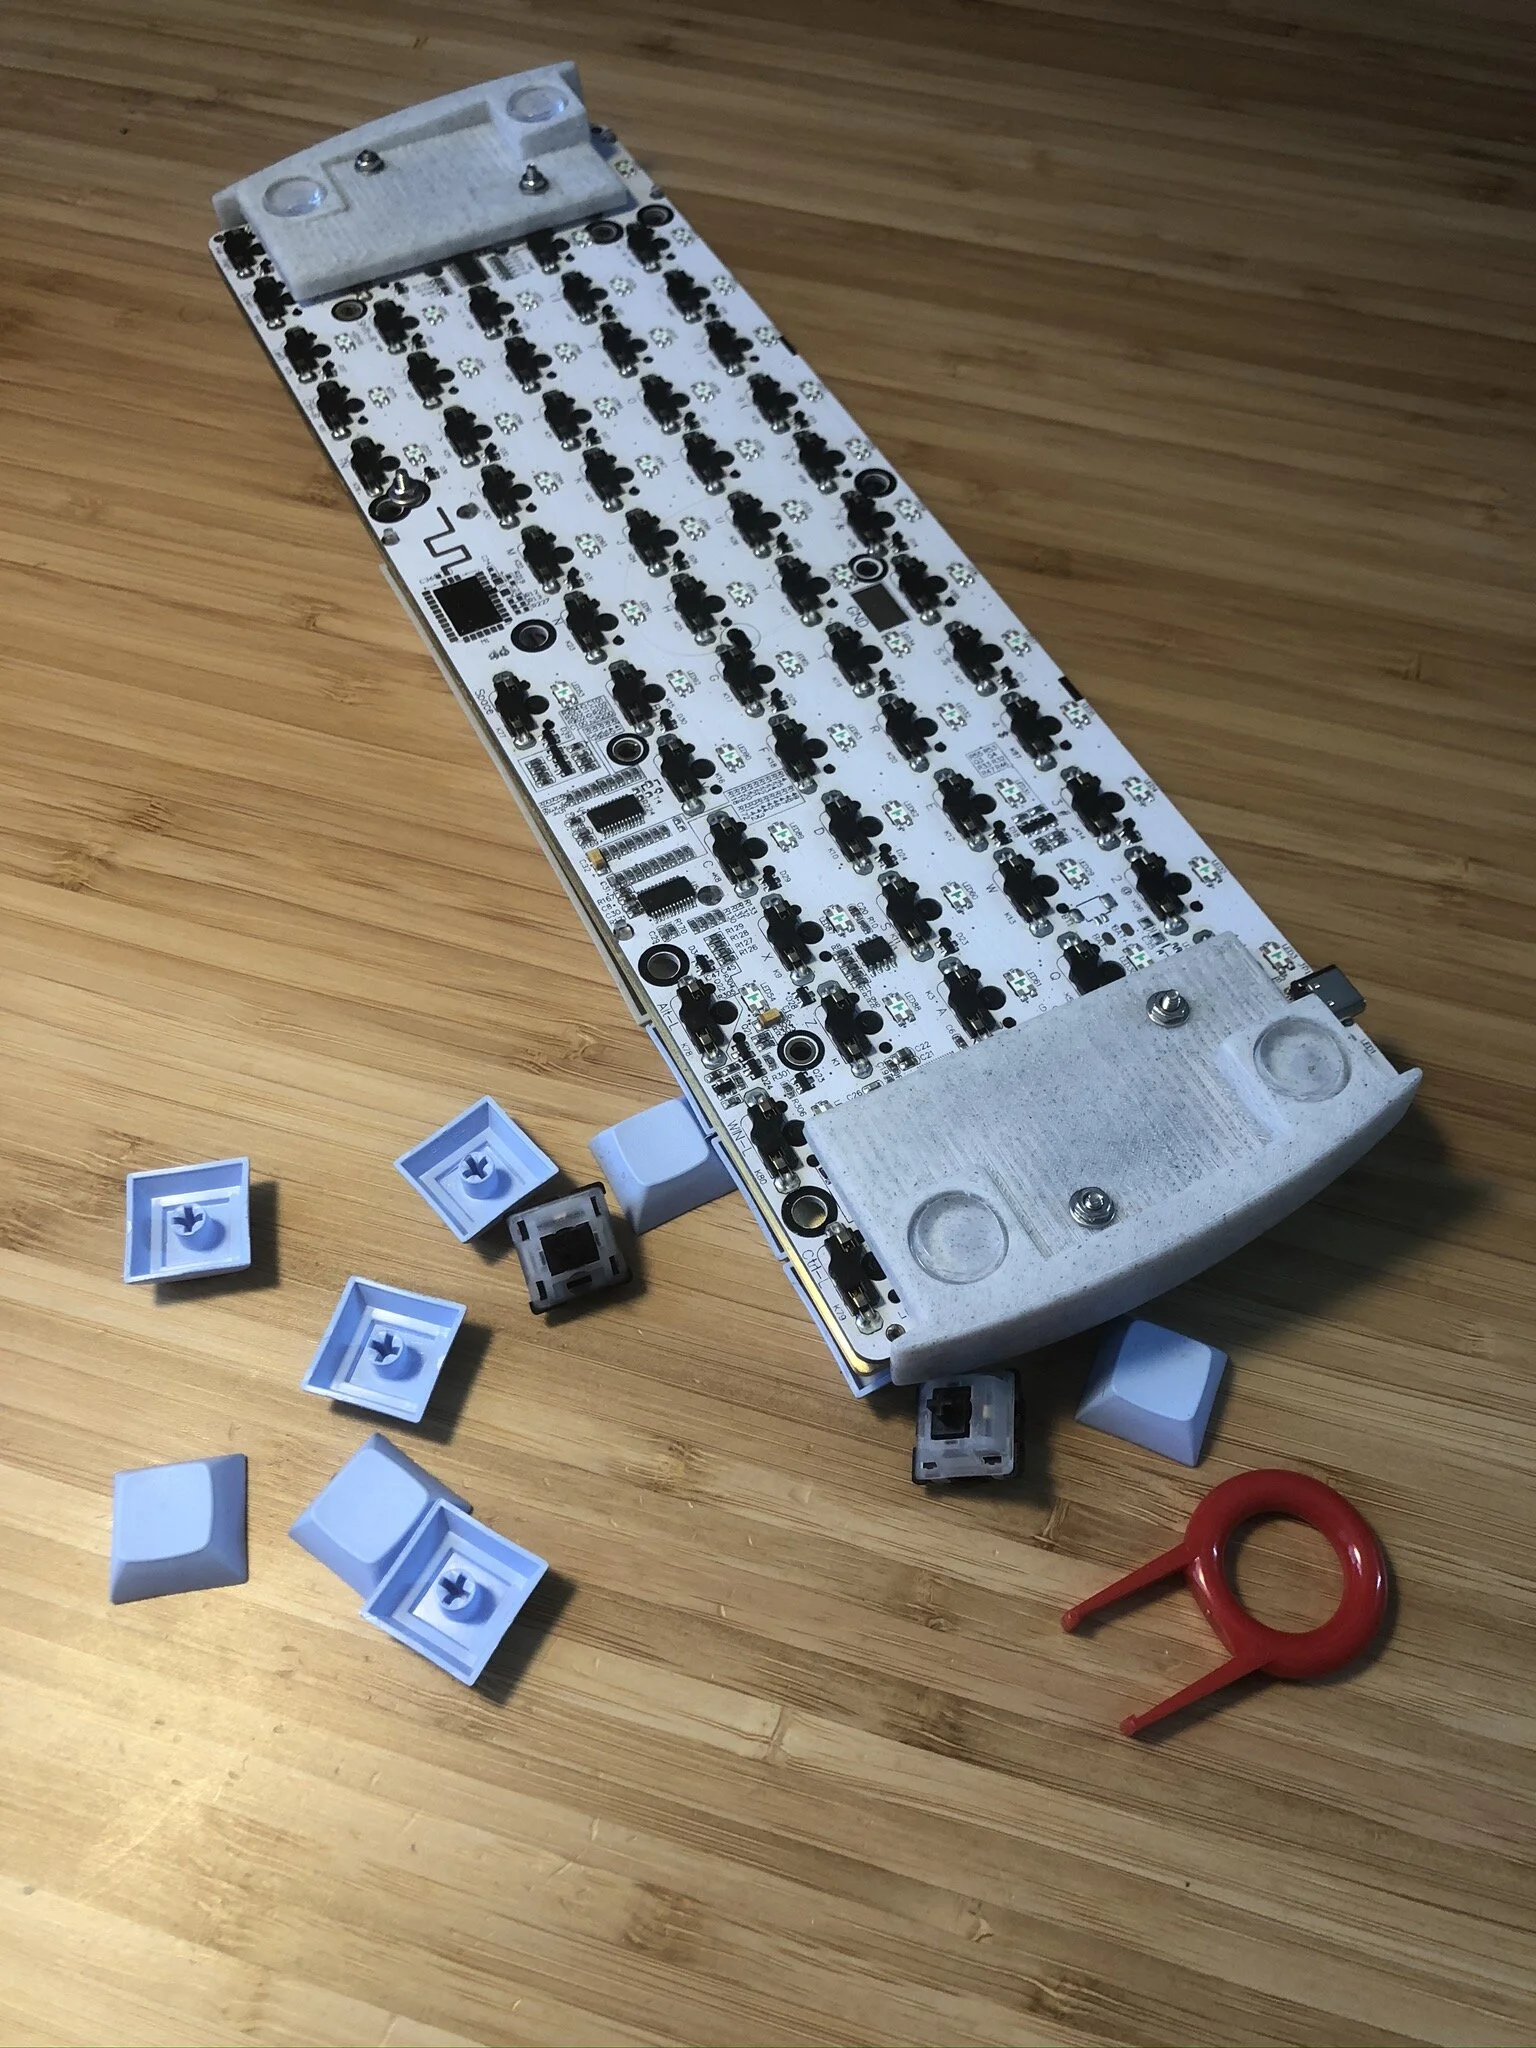
GK64 60% Hot Swap PCB
DZ60 Brass Plate
Gateron Milk Black Switches
DSA Keycaps
Custom 3D Printed Feet
I chose a hot-swap 60% PCB, because I wanted the freedom to change switches for individual keys. I also chose linear switches, because my desk is close to others, and I wouldn’t want to bother them with overly loud clicky switches. I used Gateron Milk Black switches and I lubed them with Krytox 205. Although taking apart 70 switches by hand and lubing them with a syringe was painstaking, it was worth it. The switches are incredibly smooth and quiet, and the industrial lubricant is rated far past this application.
For the chassis of the keyboard, many people buy a commercial case. I wanted to have something custom on it, so I decided to 3D print the legs for it. I designed the legs in Solidworks 2018 and sliced it with Cura. I own an Ender 3, so printing a full case for the keyboard would have been too large for my print bed. I chose to print two separate legs. I started drafting legs, mounting them, and reprinting. It involved two or three iterations to get the height and angle that I wanted. In the end, I’m very happy that I went fully custom for the legs. After printing in PLA, I sanded up to 1500 grit to get a smooth finish and added hardware from True Value along with rubber feet from Amazon.
When I lived with a few of my friends in college, I thought that a smoker would be a good way to tie together my engineering skills and my cooking aspirations. A friend was working for a cidery that was giving away these 55 gallon drums, so I cleaned one up and installed a fire grate and grill grate that I got from Home Depot. I added a temperature gauge, a smoke stack, a fire door, and a bottle opener. The outside had to be sanded, and I painted with hi-temp grill paint. Overall, it was a great use of a weekend and lots of great meals came out of this smoker.
The drum came with a plastic lining to protect the steel from the products inside, namely pineapple juice. I made a fire inside to burn off all the residual plastic after sanding the inside. Once the plastic was gone, I seasoned the inside with Crisco and a blowtorch until a durable coating was made.
Pork shoulder was the choice for the maiden voyage. About 8 hours in the smoker with hardwood charcoal and applewood chunks was a great start!
The smoker also functioned as a grill. All I needed to change was the size of a fire. A hotter fire with charcoal and hardwood was a great combination for these wings.
This jeep is a project that my father and I have worked on extensively. He has owned this jeep since before I was born, but it was in very poor condition for most of its life. From 2008-2012, we worked on taking it apart completely and re-assembling the jeep from the ground up.
This project involved intense organization, a working knowledge of how a car works, and attention to detail. While the process was slow, the end result was very rewarding.
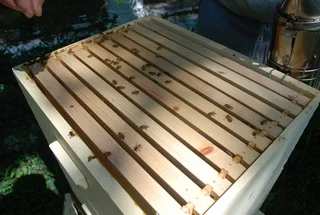
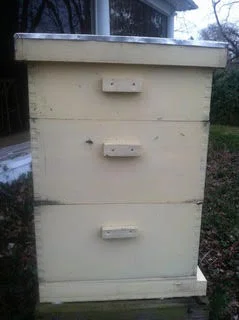
My father and I built a beehive to house 60,000 bees in our front yard. I was about 12 when we built this, and the hives lasted about a decade. We had many harvests which included suiting up and smoking out the bees. It was a long but rewarding process finally harvesting the honey.
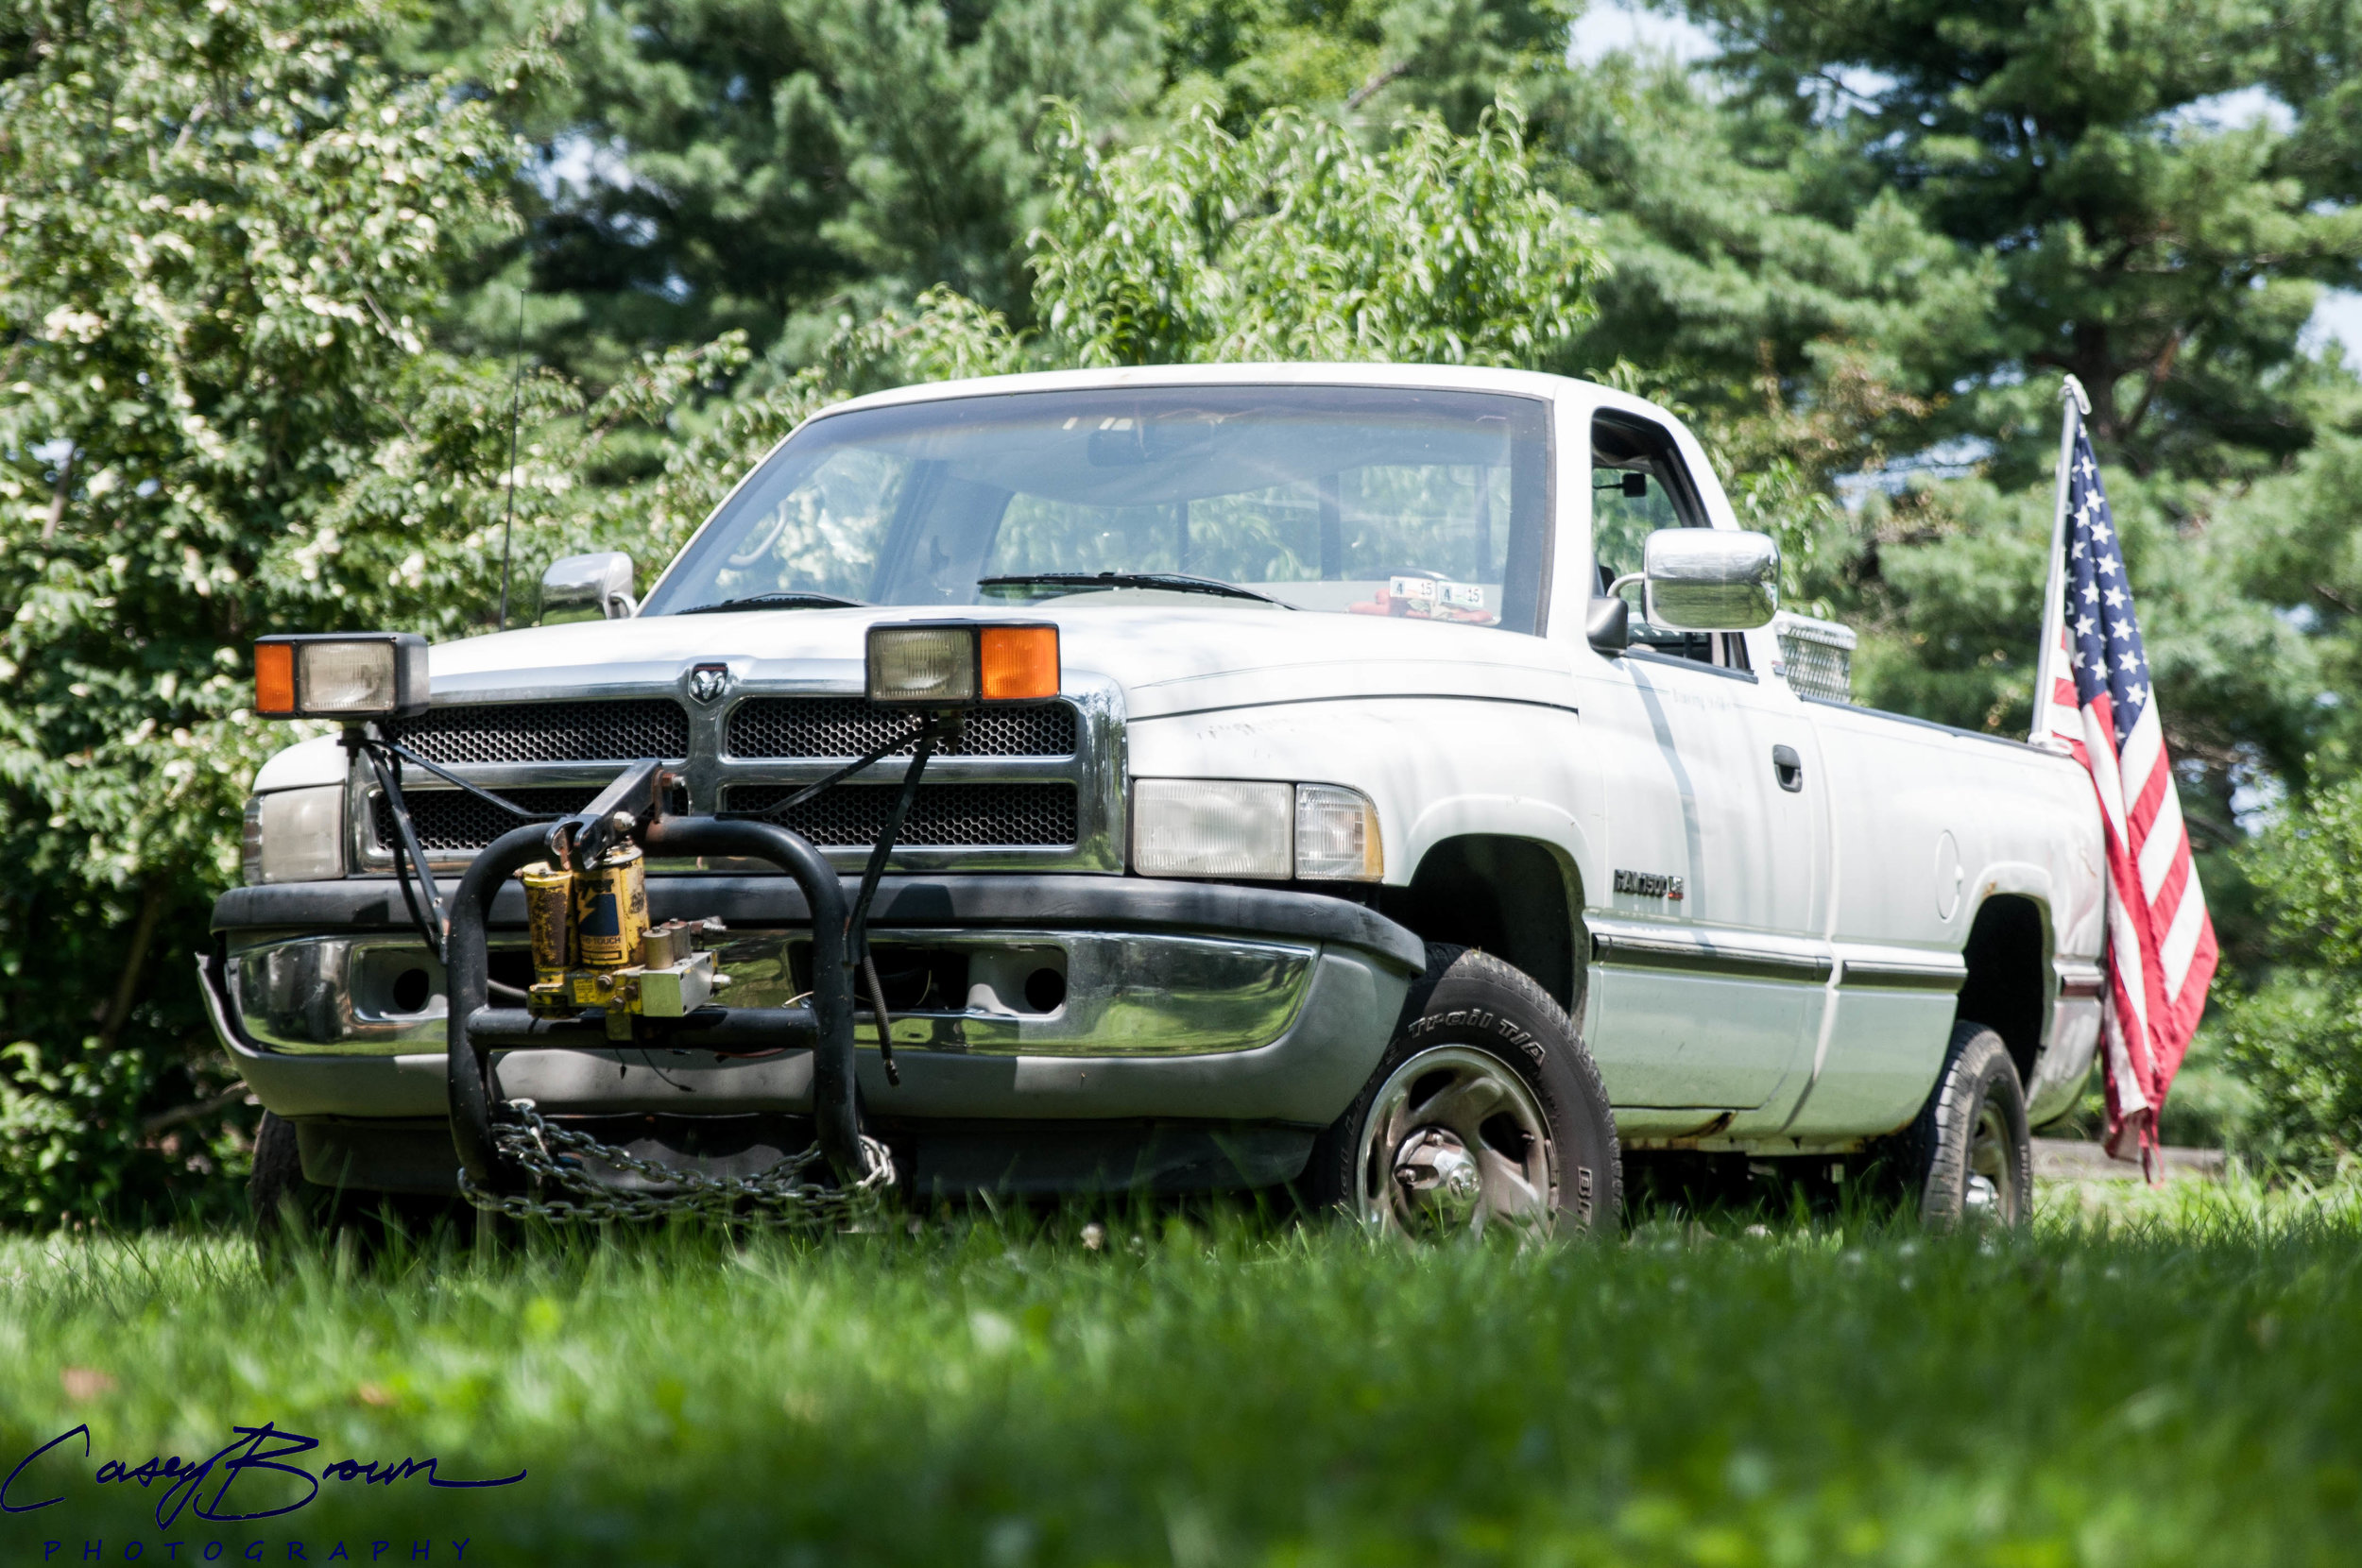
This truck was my car all through high school. Owning a mid-90's American truck was a blessing and a curse. The power, utility, and convenience of this car were its selling points, but maintenance, reliability, and gas mileage were significant costs for this truck.
Owning this car allowed me to get hands-on experience using a machine of this strength, while learning odds and ends about car maintenance and care.
Along with this, I installed an aftermarket plow mount (pictured above, on front bumper), which involved minor chassis modification, welding, fabrication, and finishing. When I bought the plow mount, the hydraulic pump was not working; there was no pressure to lift the plow. I completely disassembled and cleaned the pump, then assessed what parts I needed to fix or reorder, then reassembled and tested the pump. After the rebuild, the pump worked perfectly through several winters, with only minor maintenance and summering necessary.